Is purchasing furniture really as easy as it seems? Do you actually know what to look for when buying furniture for your home?
That is a decision you shouldn’t take lightly. Kitchens, sofas, and bedrooms are all major purchases that can easily cost several thousand dollars.
Buying furniture for your home is exciting, but it can also feel a little overwhelming. As mentioned before, you know you’re about to make a significant investment, and you want to be sure you’re making the right choices.
So here are some tips to keep in mind, along with the questions you should ask yourself when it’s time to take action.
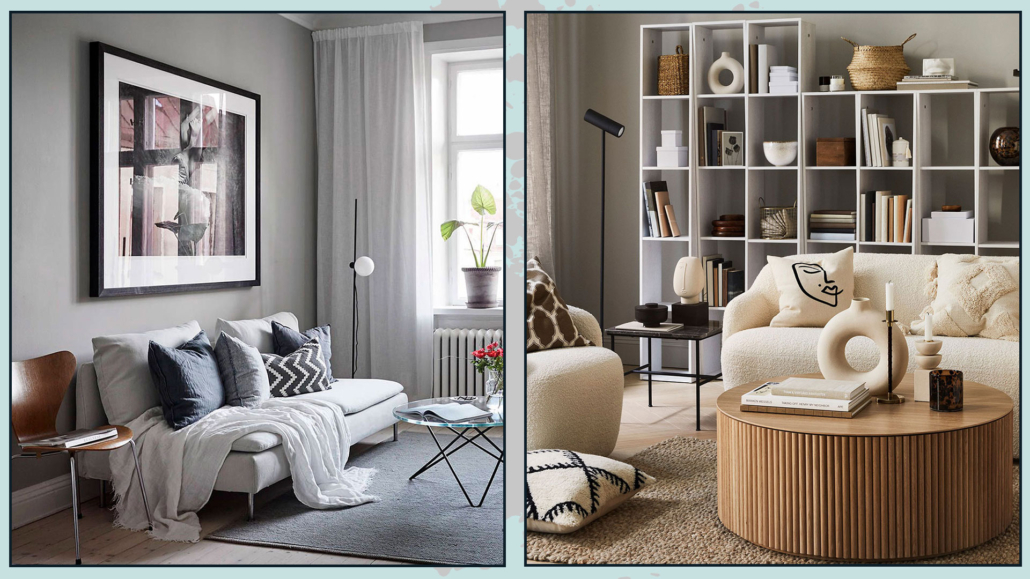
LIVING ROOM
SOFA
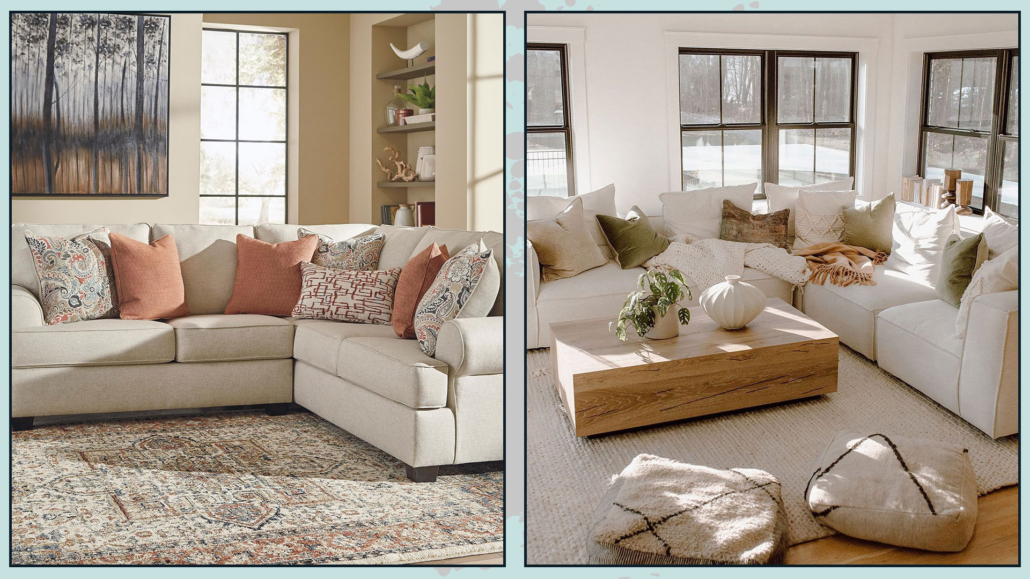
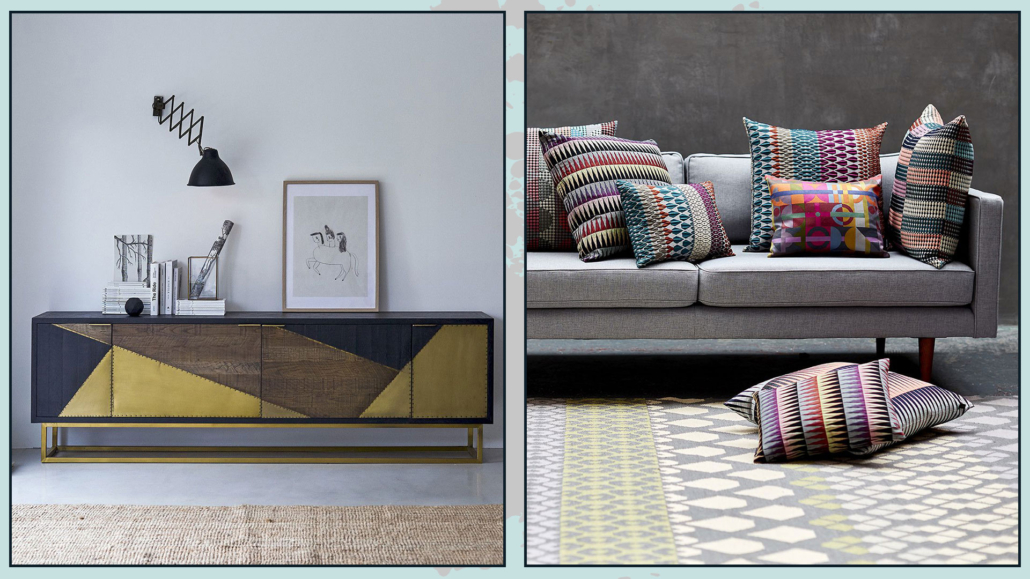
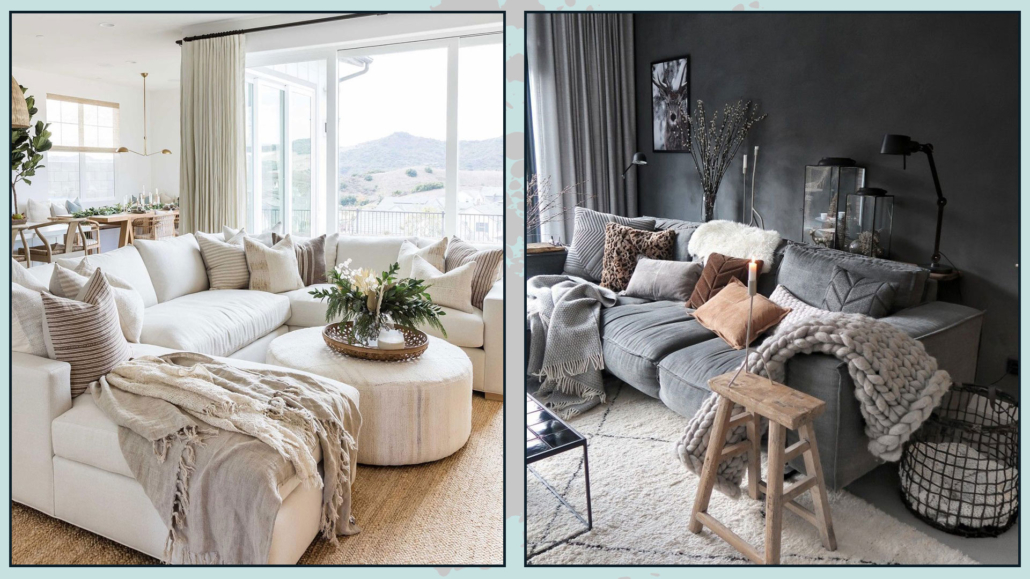
The sofa is undoubtedly one of the biggest and most expensive pieces in this room, so let’s look at what you should consider:
– It needs to be sturdy
Sofas with a solid wood frame are ideal because they’re strong and long-lasting.
Yes, this usually increases the price, but it’s actually the best choice you can make.
We all know there are very “affordable” sofas out there, but that often comes at the expense of quality and durability.
Replacing a sofa after just a few years is definitely not ideal!
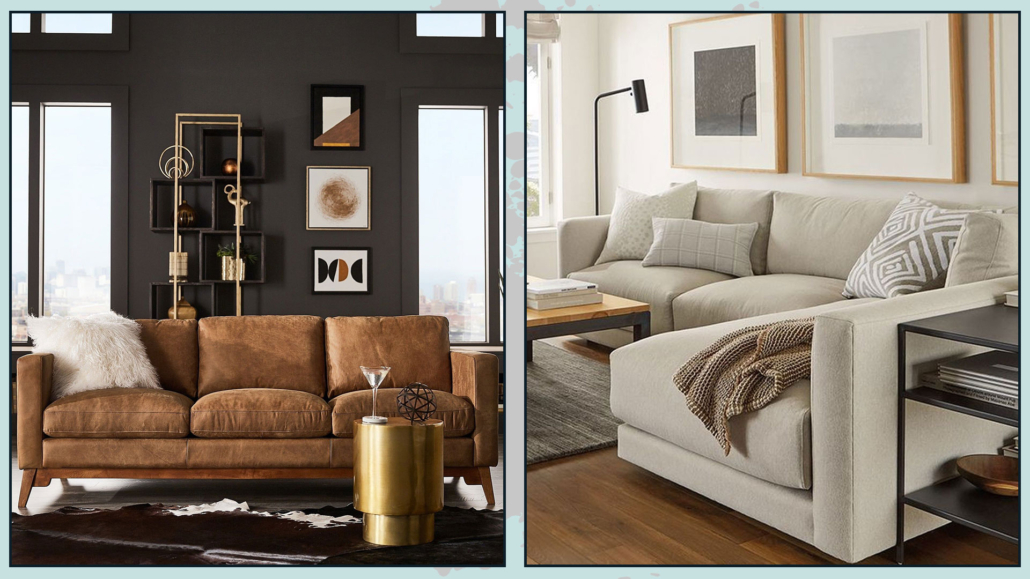
(credit: overstock.com; roomandboard.com)
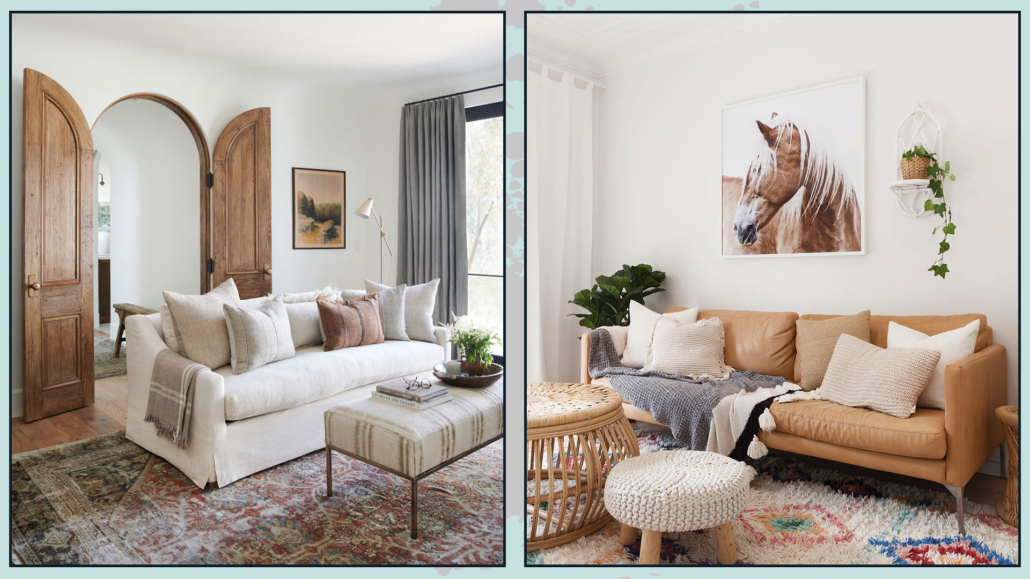
– It needs to be comfortable
I’ve often met friends or clients who fell in love with a sofa’s design, only to realize later that it was very uncomfortable.
Your sofa should be a place where you can truly relax!
One helpful detail to check: ask whether the sofa has coil springs or serpentine springs.
Coil springs tend to be more durable and comfortable because they’re much more elastic.
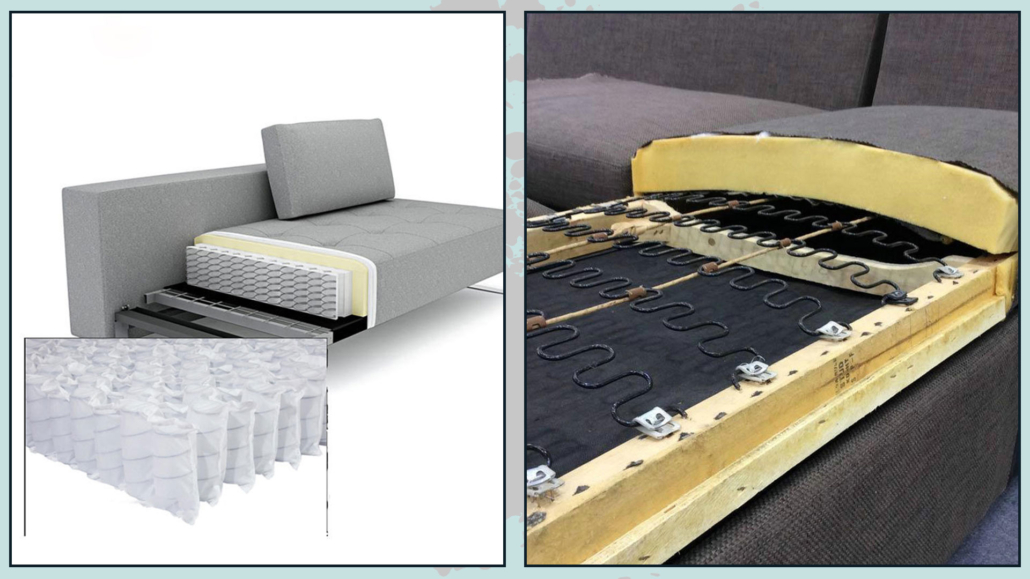
(credit: yirilom.com; pinterest)
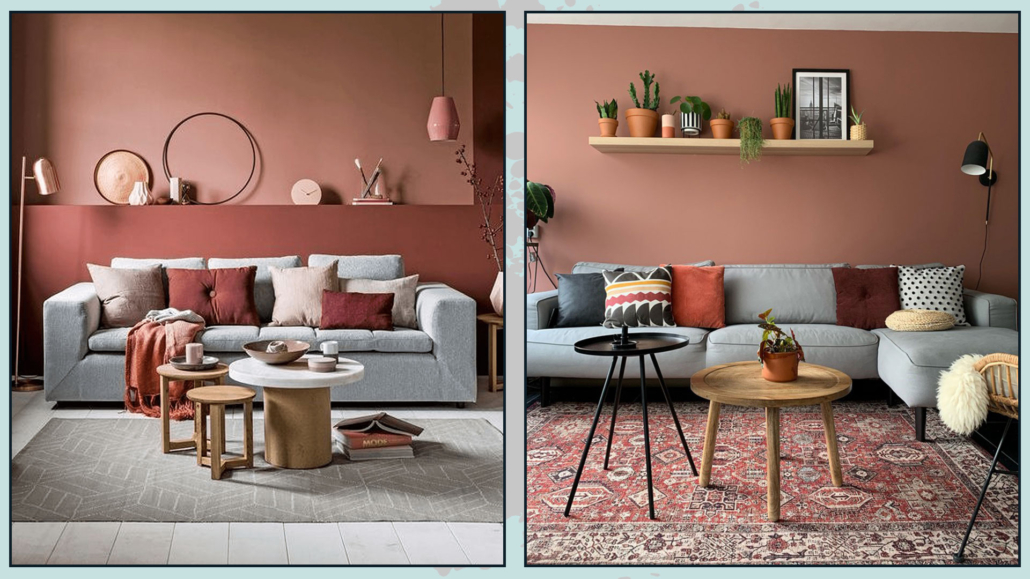
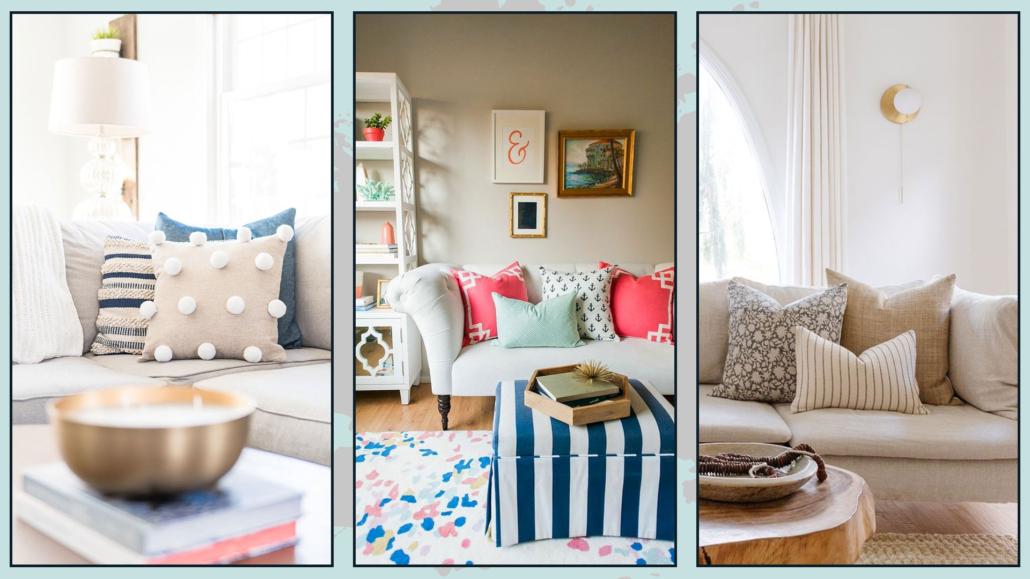
– Pay attention to the padding
Most sofa cushions use high-resilience polyurethane foam.
It’s a durable and easy-to-maintain material, but pay close attention to its density.
If the foam is too thick, the sofa will feel too firm; if it’s not dense enough, it will sink too much.
A quick note on density: polyurethane foam contains tiny air bubbles—the more bubbles, the denser the material.
For sofa seats, it’s paramount to find the right balance between density and weight support. A good medium density usually falls around 30–40.
For backrests, which don’t need to support as much weight, a lower density can work just fine.
(credit: puresaltinteriors.com; bassettfurniture.com)
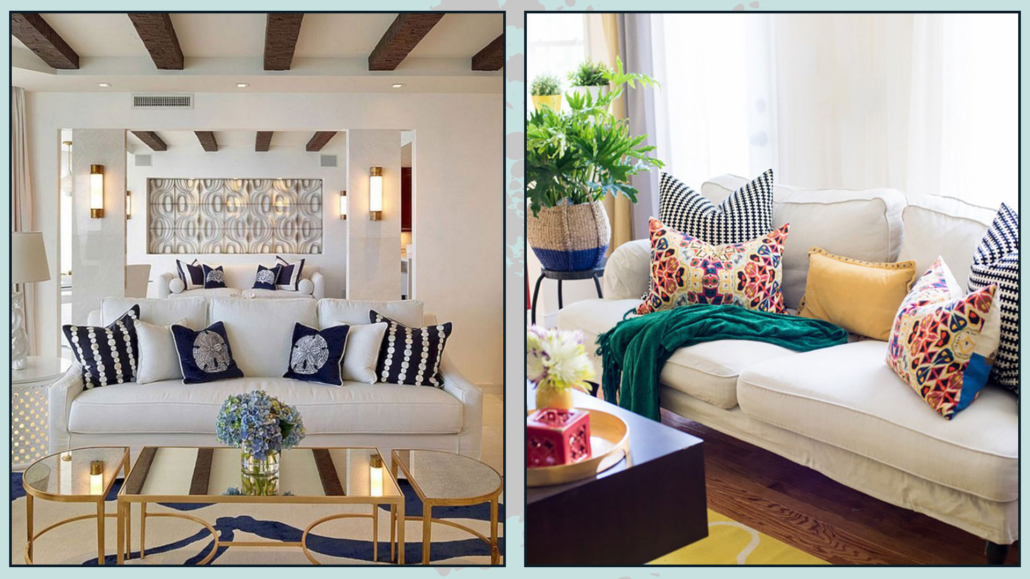
– Choose the upholstery
Cotton, linen, and leather are classic sofa coverings and are very durable.
Synthetic materials such as microfiber are easy to clean and maintain.
If you have kids or pets, microfiber might be the best solution due to its practicality.

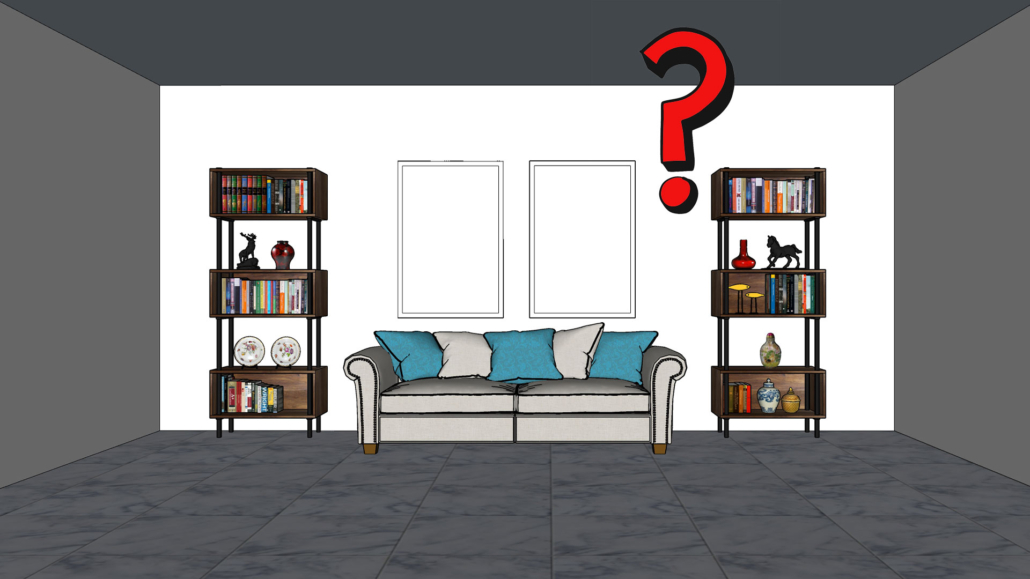
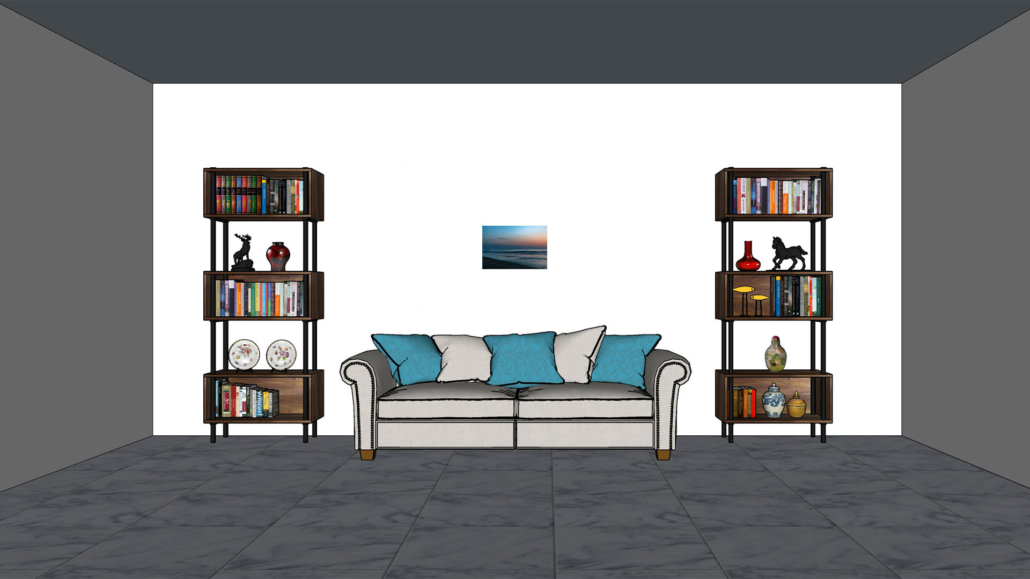
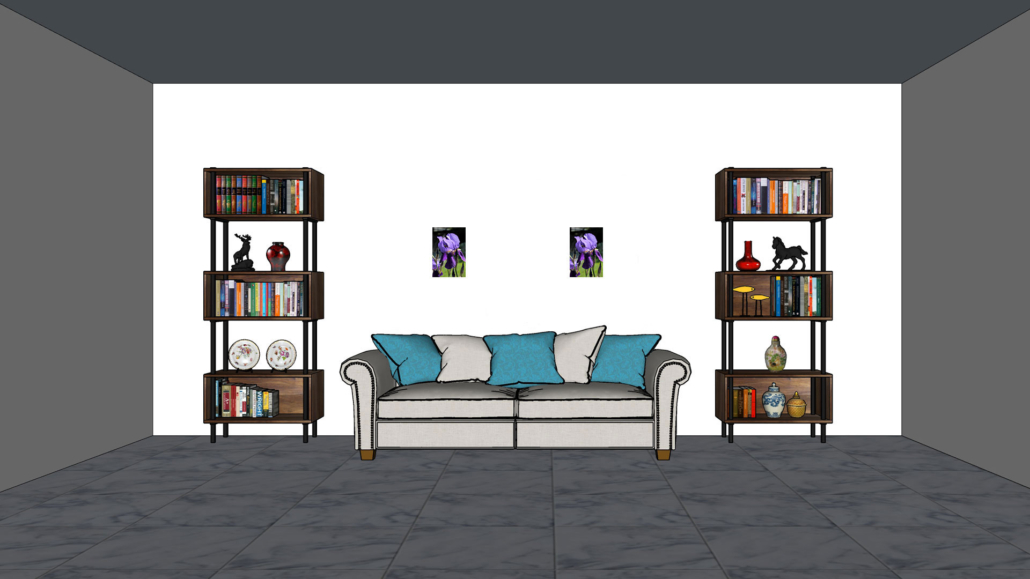
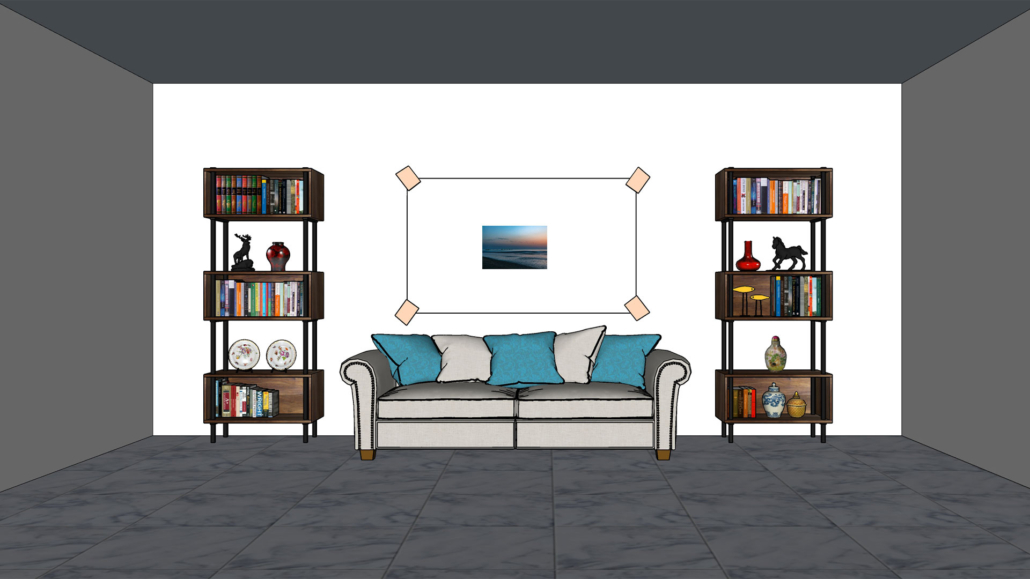
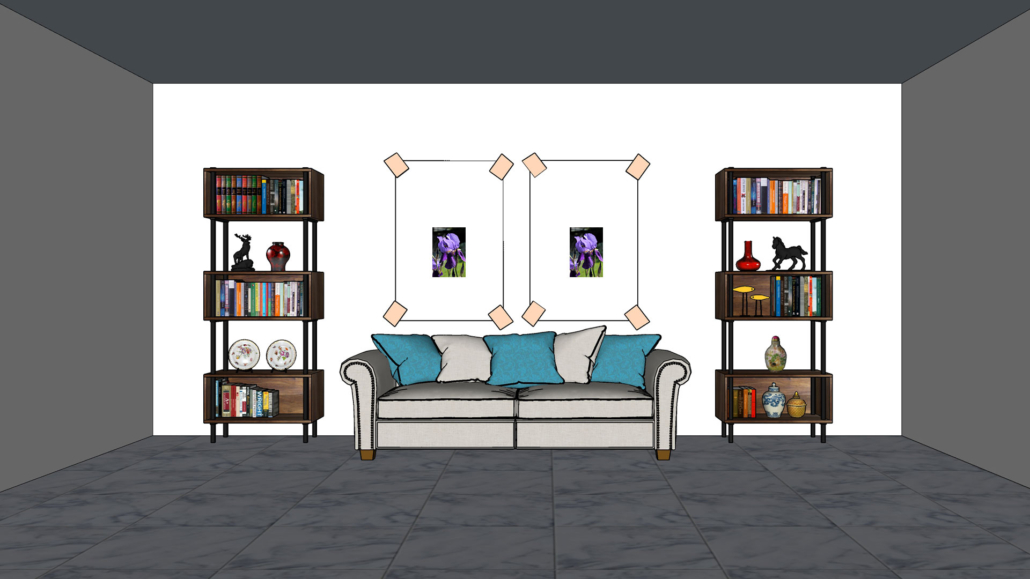
– Pay attention to the dimensions
The sofa must be proportional to the room: one that’s too large will overwhelm the space, while one that’s too small will get lost.
Also, make sure to consider every passage the sofa needs to go through to get inside—not just doors and windows, but also hallways and staircases!

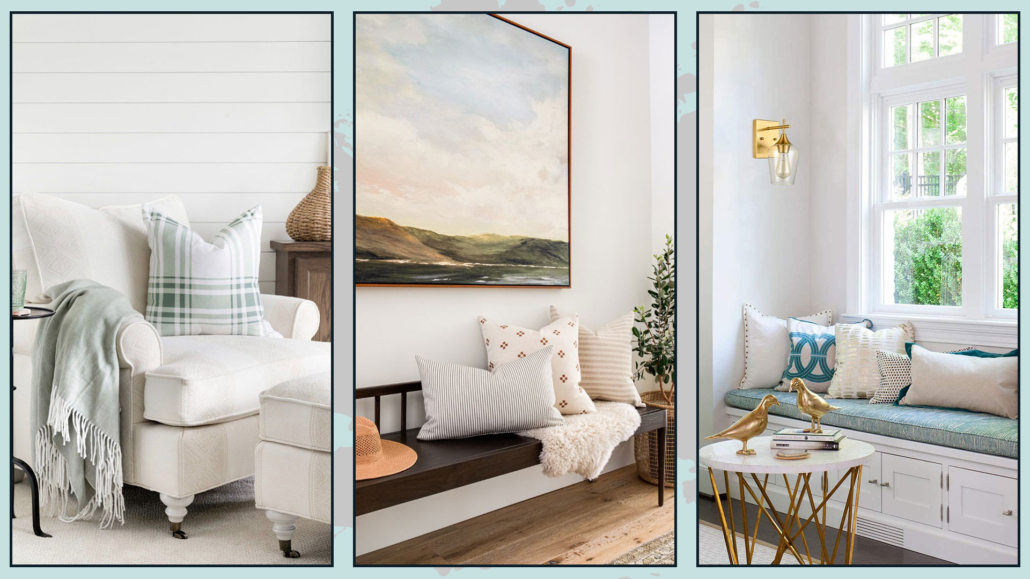
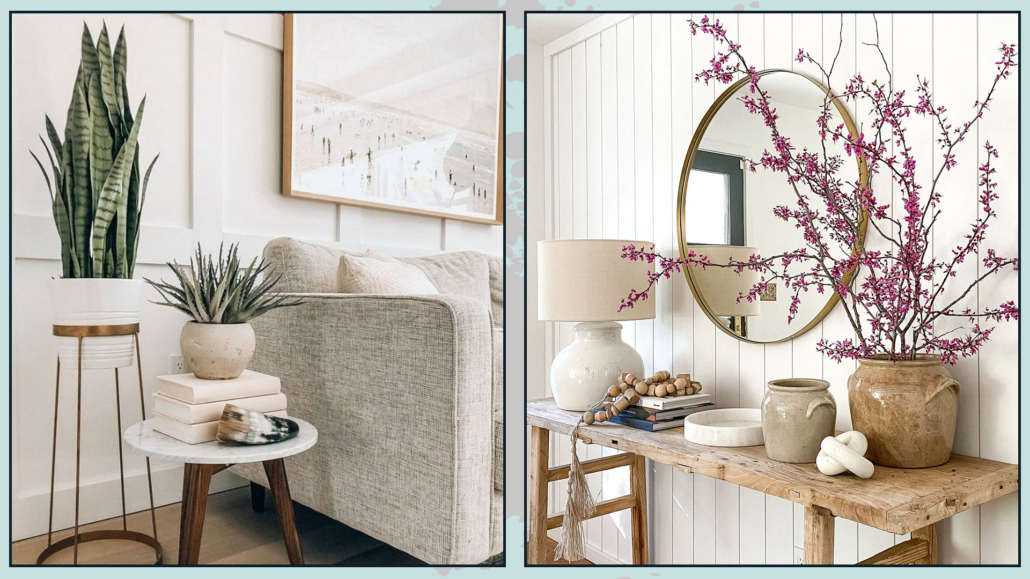
ARMCHAIR / EXTRA SEATING
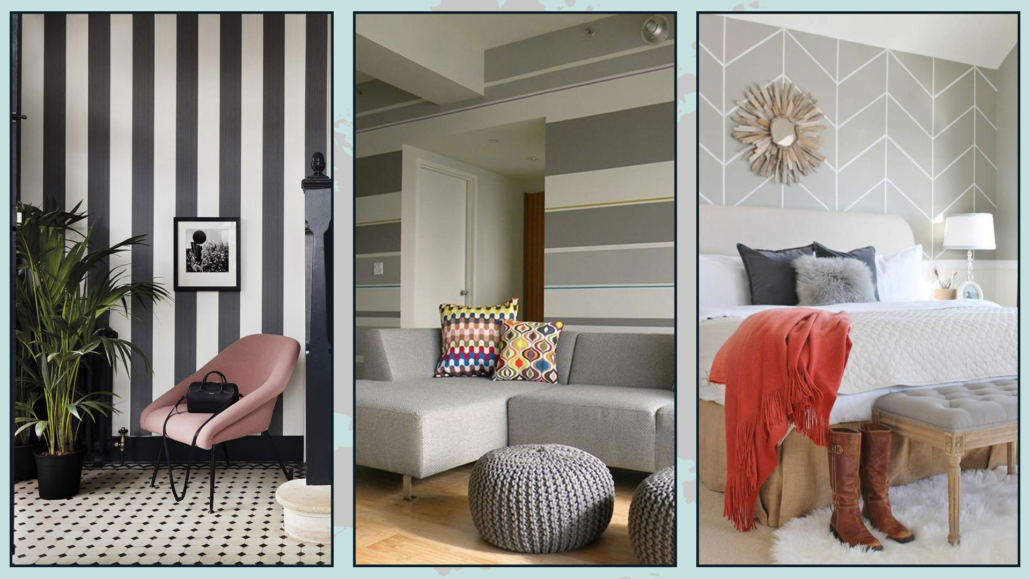
Adding an armchair or extra seating near the sofa instantly adds style to the room, making it a worthwhile investment.
This piece can match the sofa perfectly (a classic armchair that feels like a natural extension), or it can contrast with it, adding rhythm and visual interest.
When choosing a contrasting seat, pay close attention to style, materials, and all those small details that truly make a difference.
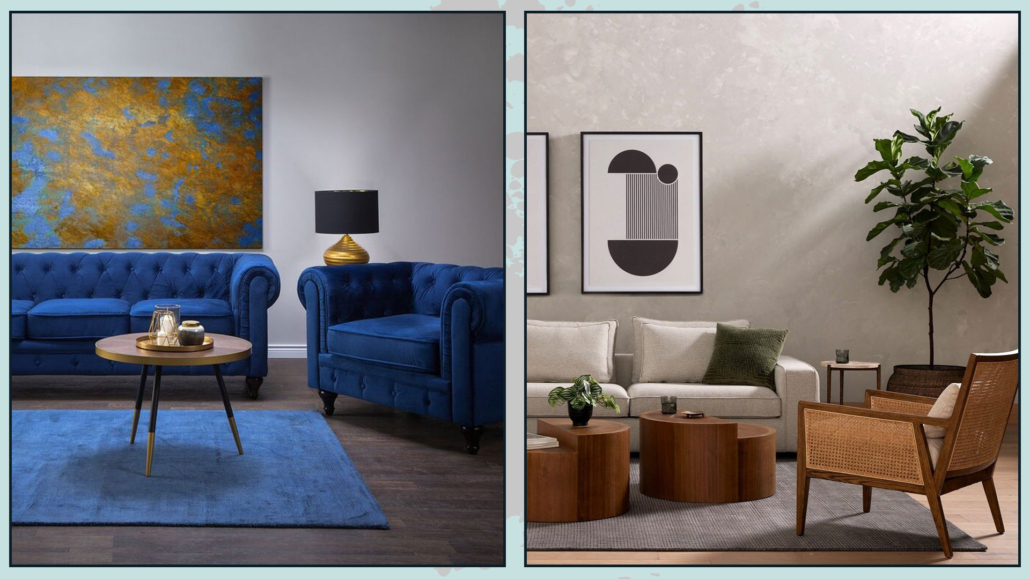
(credit: beliani.it; artesanosdesign.com)
COFFEE TABLE
A coffee table should be proportionate to the sofa, slightly lower than the seat height, and placed at a distance of approximately 40–50 cm (16–20 inches)
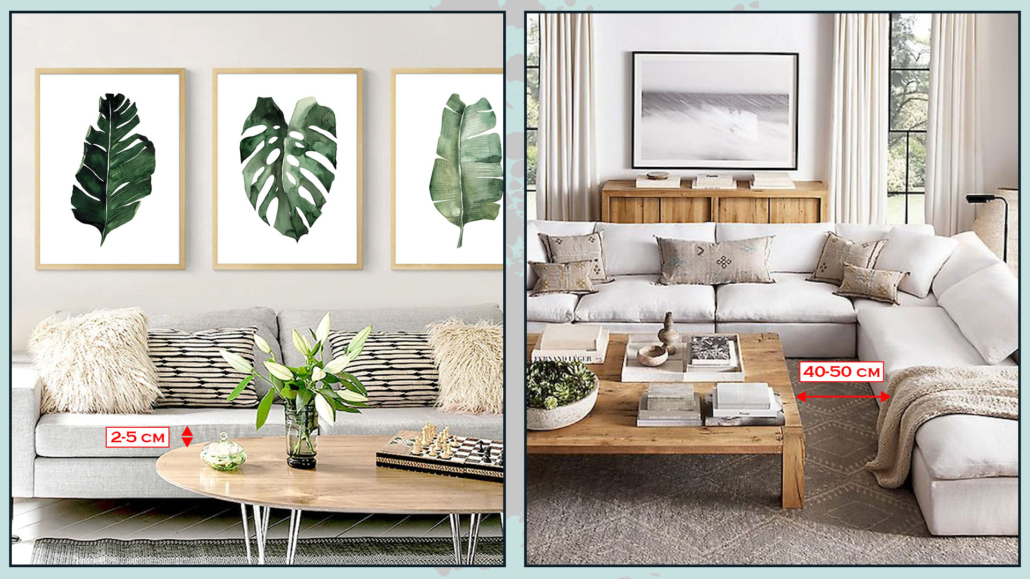
(credit: Pinterest)
Material choice should reflect the overall style of your home.
One tip: avoid glass if you have children!
As for shape, it’s best to follow the room’s layout:
– in a rectangular room, rectangular or oval tables work best;
– in a square room, square or round tables are ideal.
Round tables have a huge advantage, especially in small spaces, because they allow for smoother movement around them.
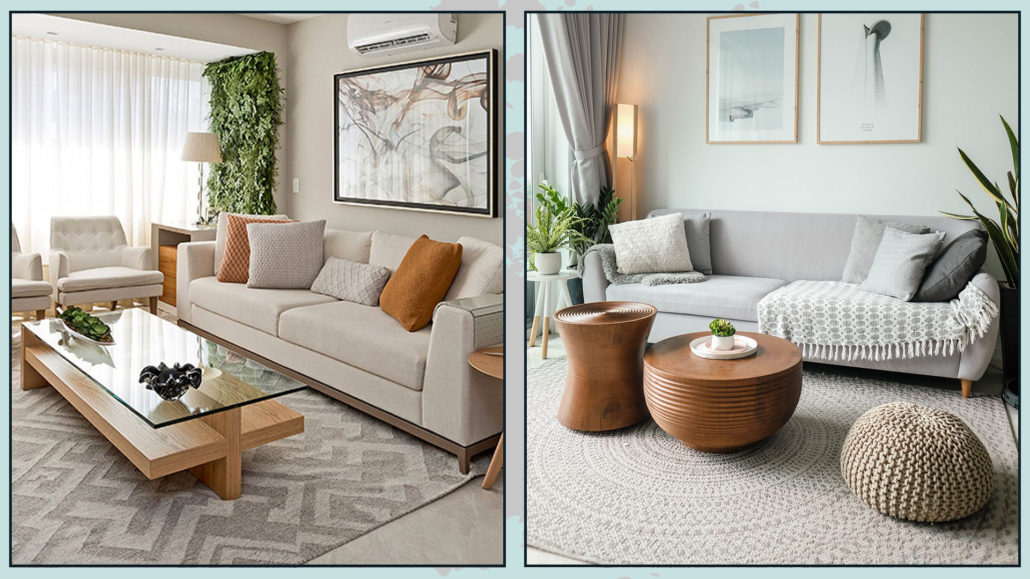
(credit: vivadecora.com.br; robadadonne.it)
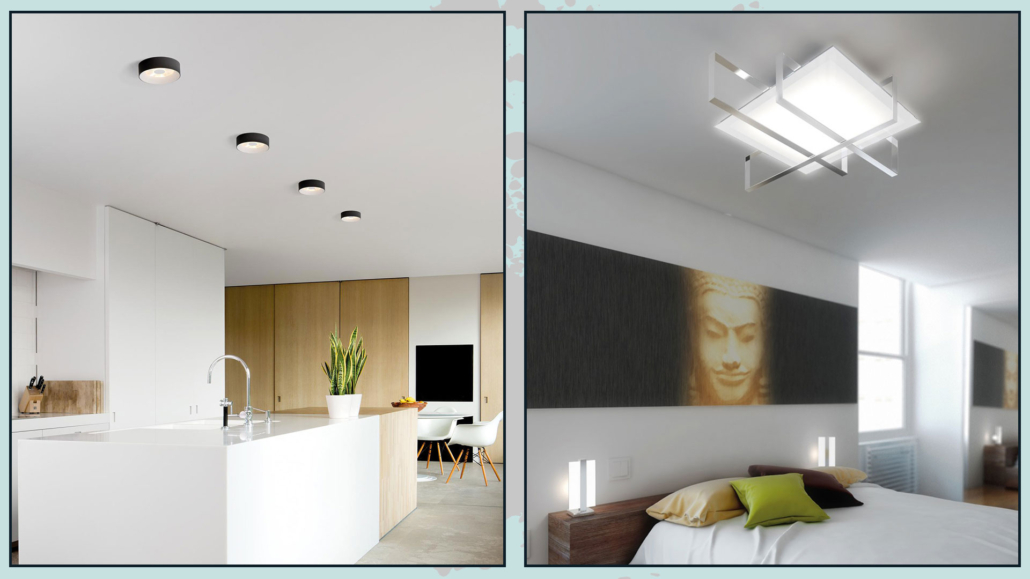
BEDROOM
BED
One of the principal elements to consider is the mattress.
It needs to be extremely comfortable so you can truly relax and enjoy restorative sleep.
(Fun fact: you spend about one-third of your life on a mattress!)
When it comes to the bed itself, don’t focus only on shape and style.
The bed base is just as important: even the best mattress will lose some of its benefits if placed on a poor-quality base.
Slatted bases are usually the best option, especially those with flexible, curved slats rather than rigid ones.
Some slats support different weight loads.
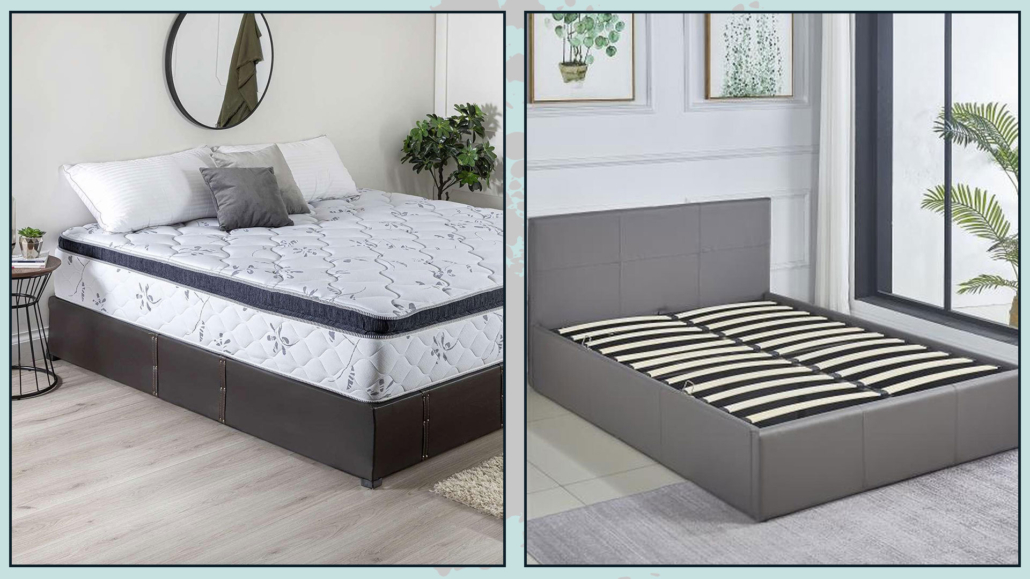
(credit: coppel.com; duomodesign.it)
Pay attention to height!
The bed base raises the mattress, and one should choose its height based on the mattress thickness so you can get in and out of bed comfortably.
There’s no single “ideal” height—it depends on your height, age, and even your health.
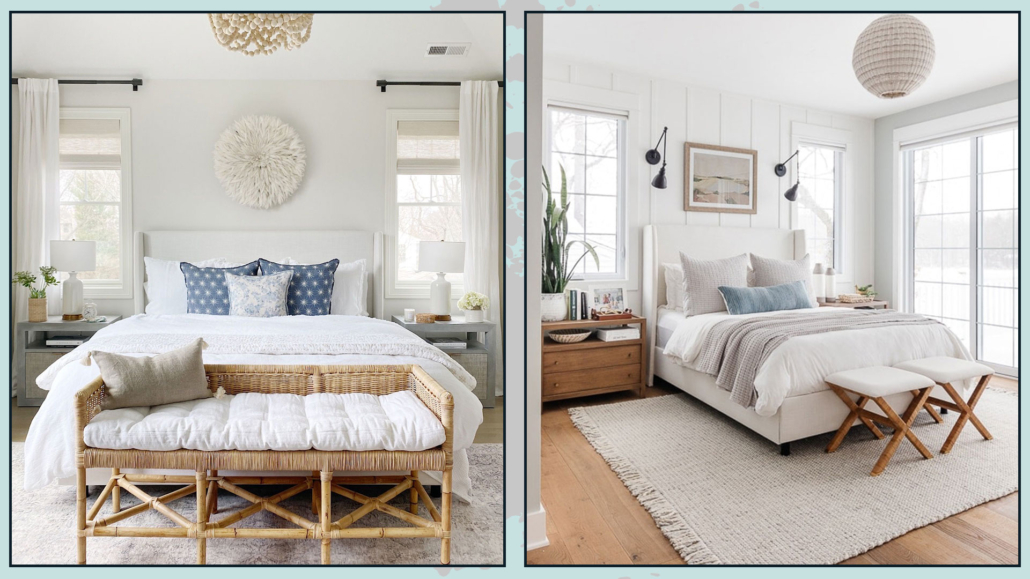
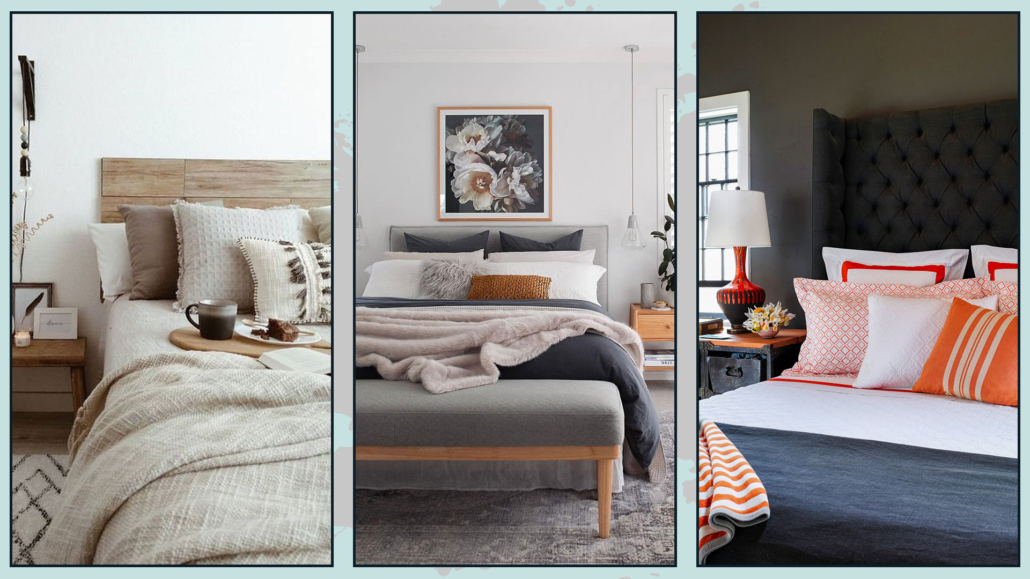
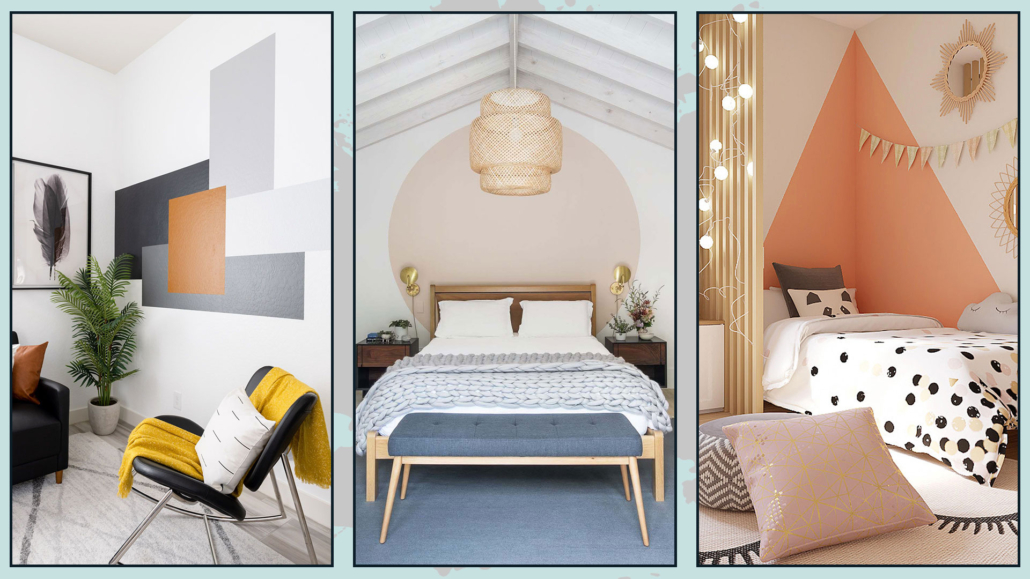
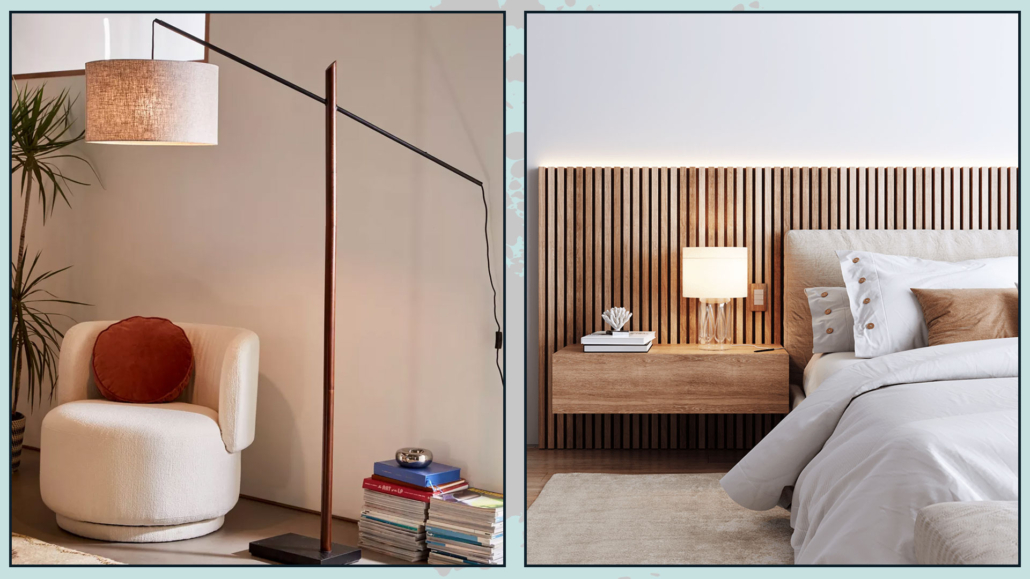
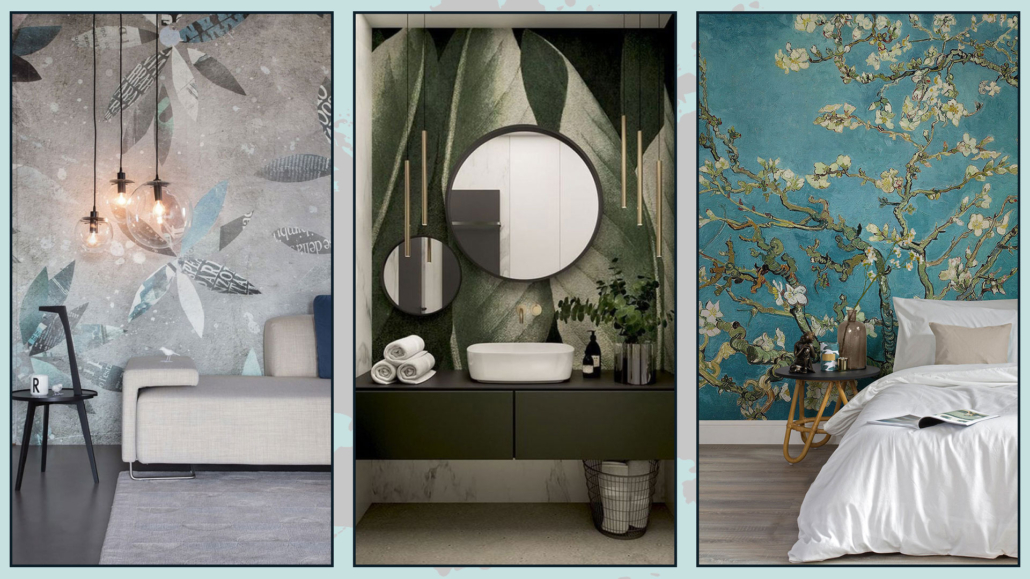
In terms of style, consider the overall look and atmosphere of the room.
As always, the bed can either coordinate with the rest of the furniture or become a contrasting statement piece.
Start with your color palette and wall color.
From there, decide whether you want a tone-on-tone look, a soft contrast, or a bolder one.
For materials—wood, metal, or upholstered—also think about ease of cleaning.
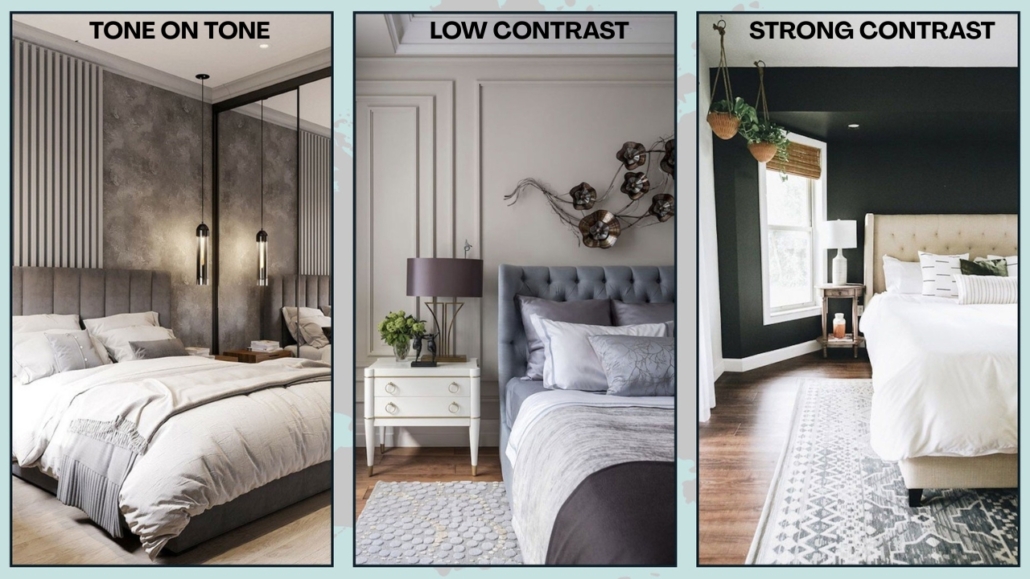
(credit: duomodesign.it; Tatiana Gedike; duomodesign.it)
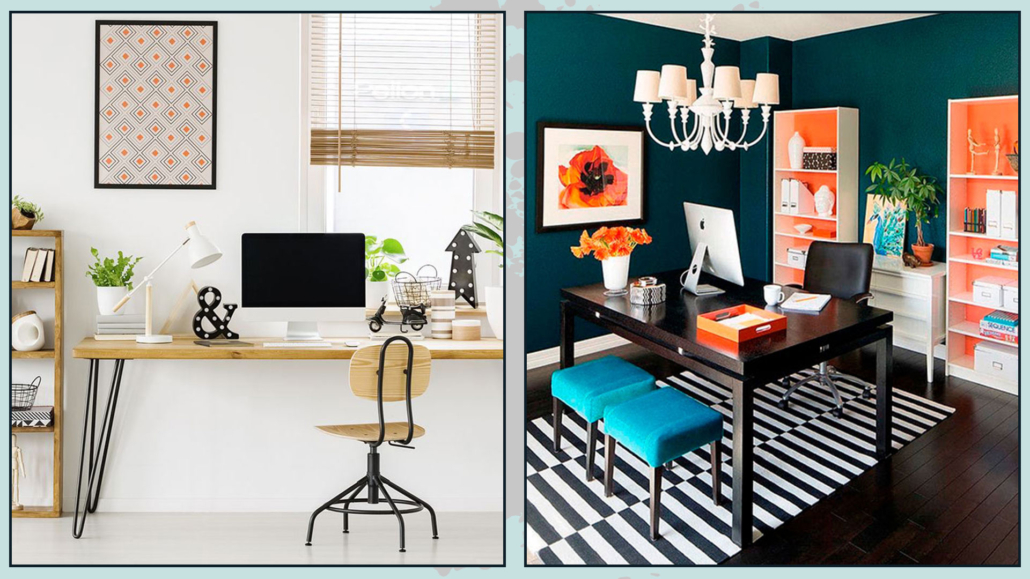
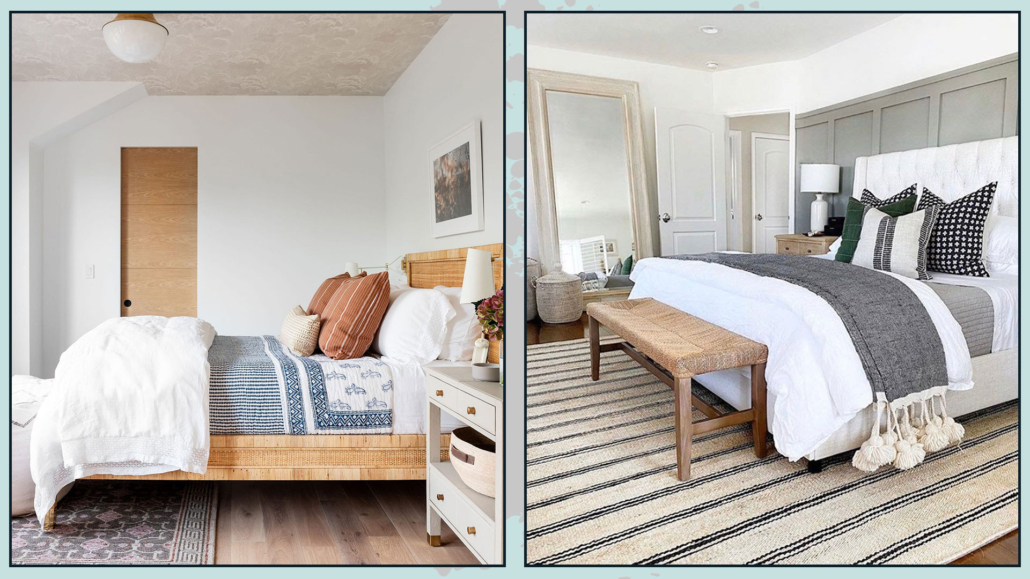
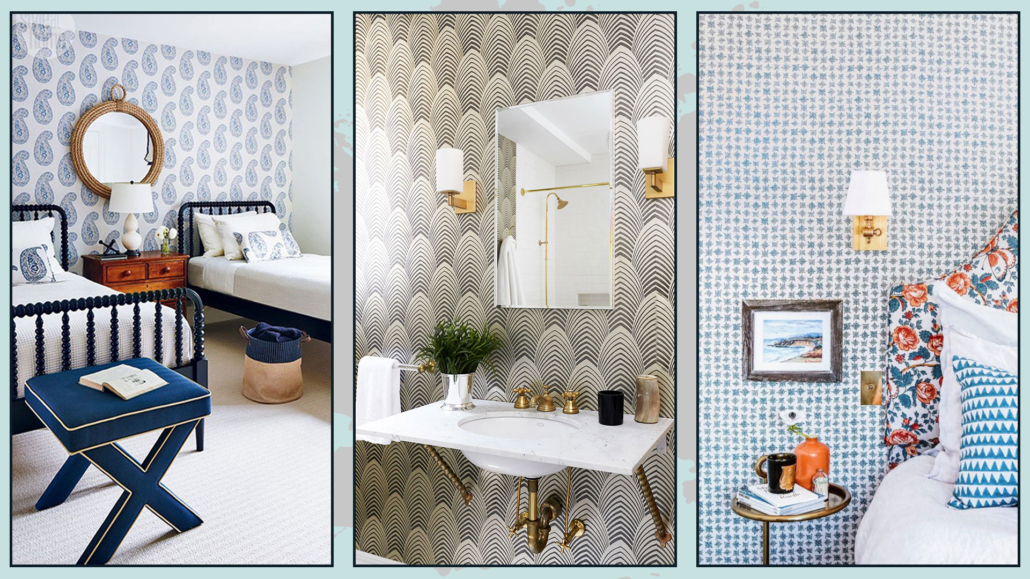
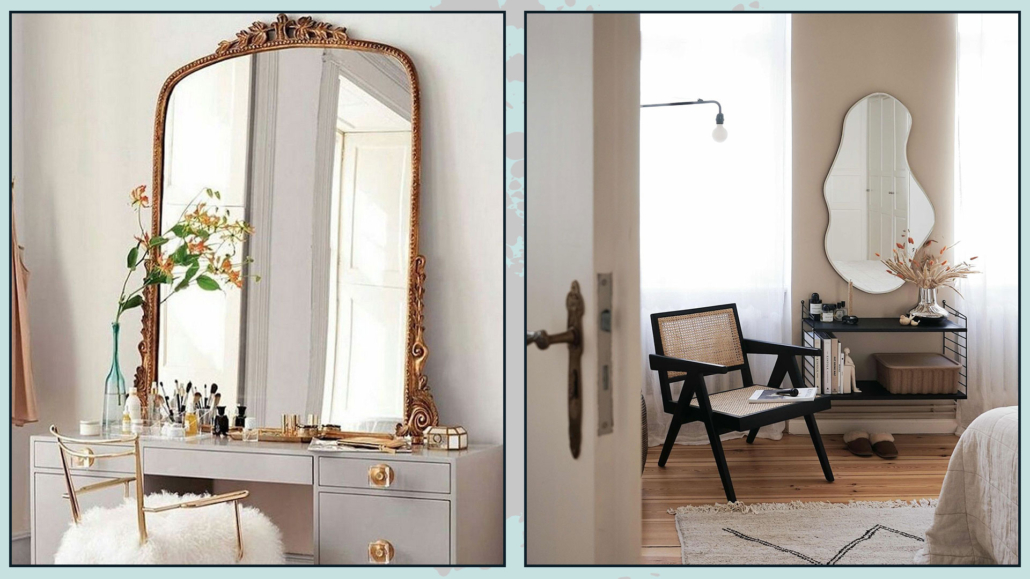
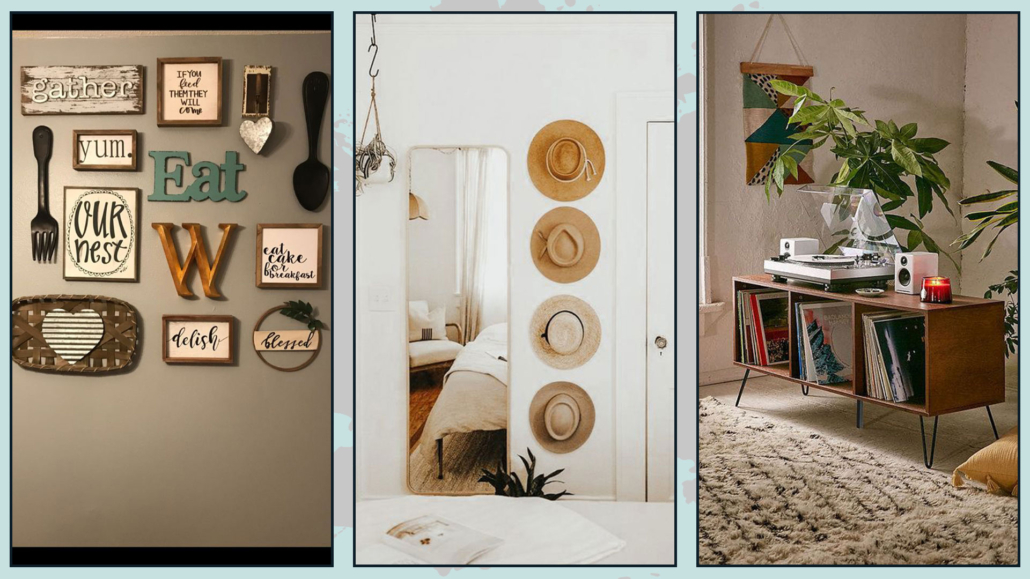
WARDROBE AND NIGHTSTANDS
Just like with the bed, your wardrobe, nightstands (and any dresser) don’t have to match perfectly.
Matching everything is a safe choice, but it might not fully represent your personality.
Mixing different pieces creates rhythm and movement, making the space feel more dynamic.
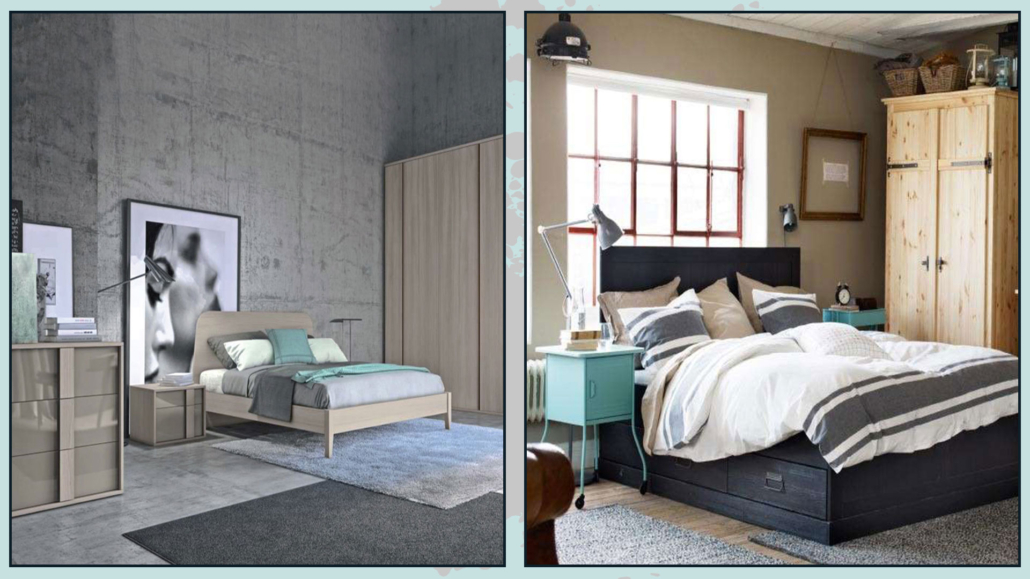
(credit: ourhouseofmodesty.nl; Ikea)
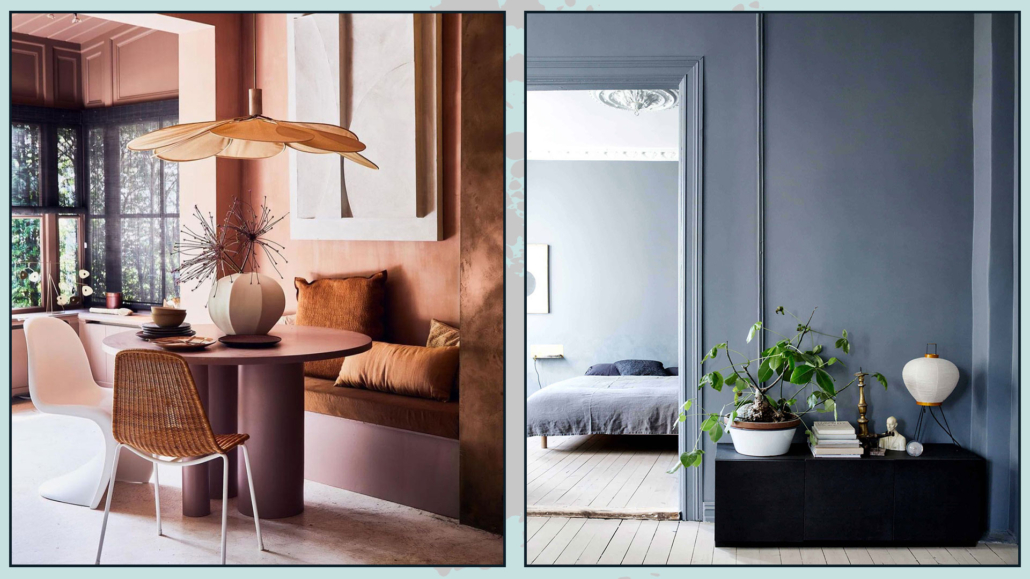
DINING ROOM
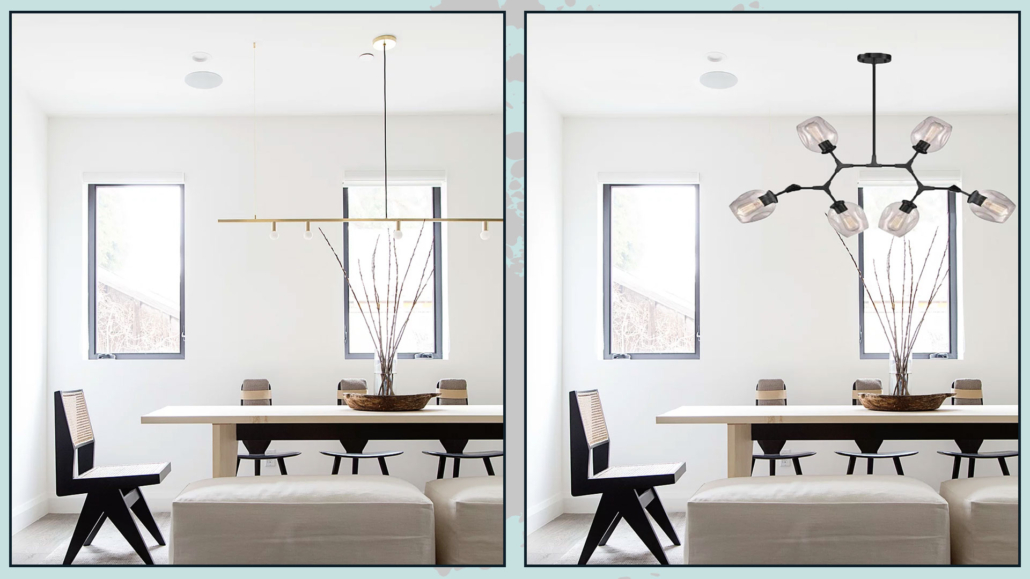
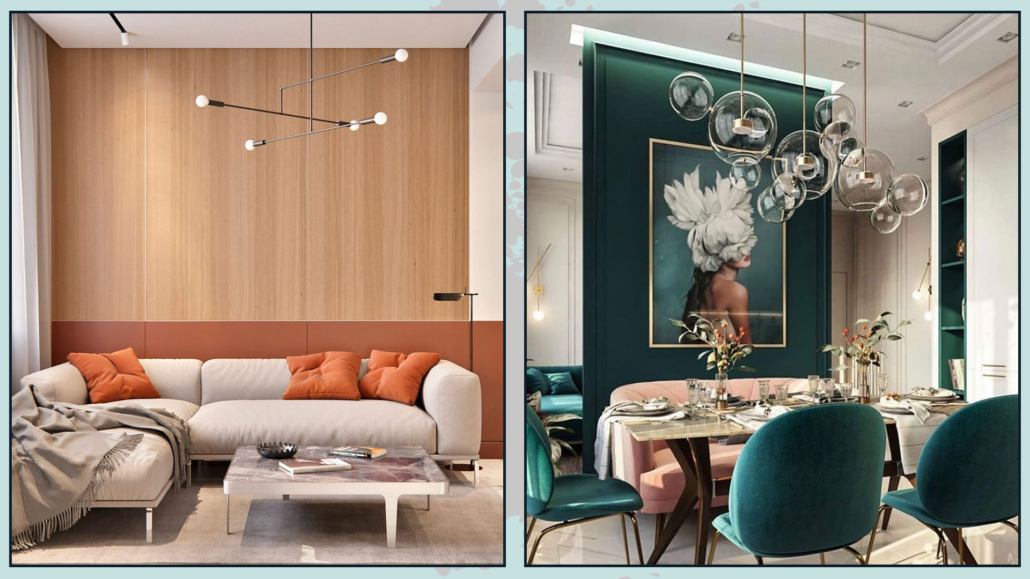
The table is the true star of the dining area, so focus on its style and materials.
A glass table feels very formal and has the advantage of reflecting light, which is excellent for small spaces—but it does require constant cleaning!
Wood, on the other hand, is a durable and timeless choice.
Just like in the bedroom, chairs and table don’t have to be a matching set.
Mixing is also an option here.
If you choose wooden chairs, you can either keep them in a similar tone for a cohesive look or go for a strong contrast.
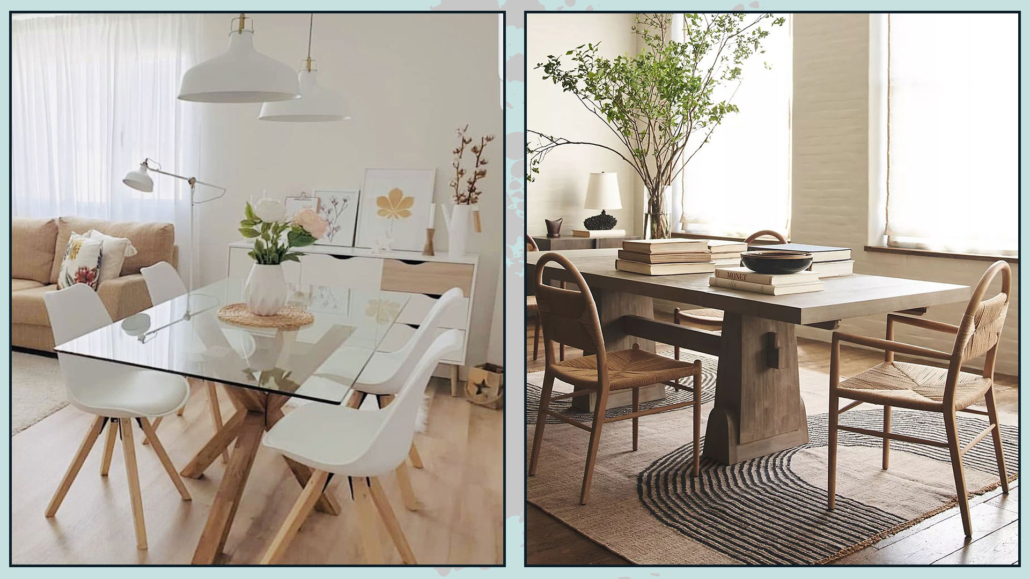
(credit: decorqeeny; thenordroom.com)
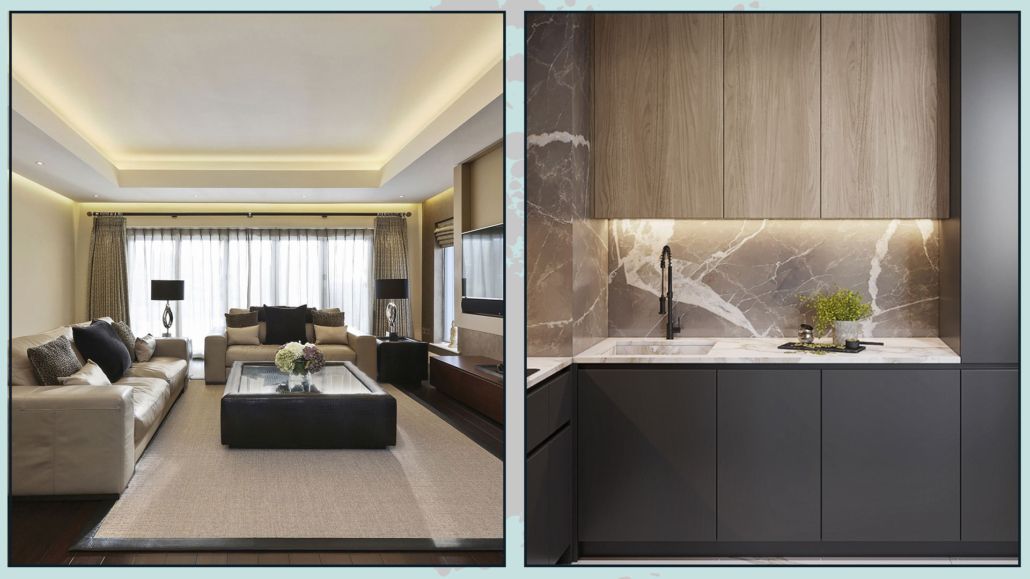
KITCHEN
My first piece of advice is to start with the appliances, since they usually have the highest impact on the budget:
– Built-in or freestanding refrigerator?
– Type and size of the oven
– Size and type of the cooktop
– Type and size of the sink (not an appliance, but there are many options, and it highly affects usability)
– Dishwasher: yes or no? 24-inch or 18-inch? Built-in or not?
Choose appliances that match your kitchen habits. (I talk about this in an interview with Chef Patty Smit)
Once you find the best appliances for your needs, choose their finish. White, black, stainless steel, and more.
The right choice depends on your home’s style.
Once the appliances are selected, you can design the rest of the kitchen around them.
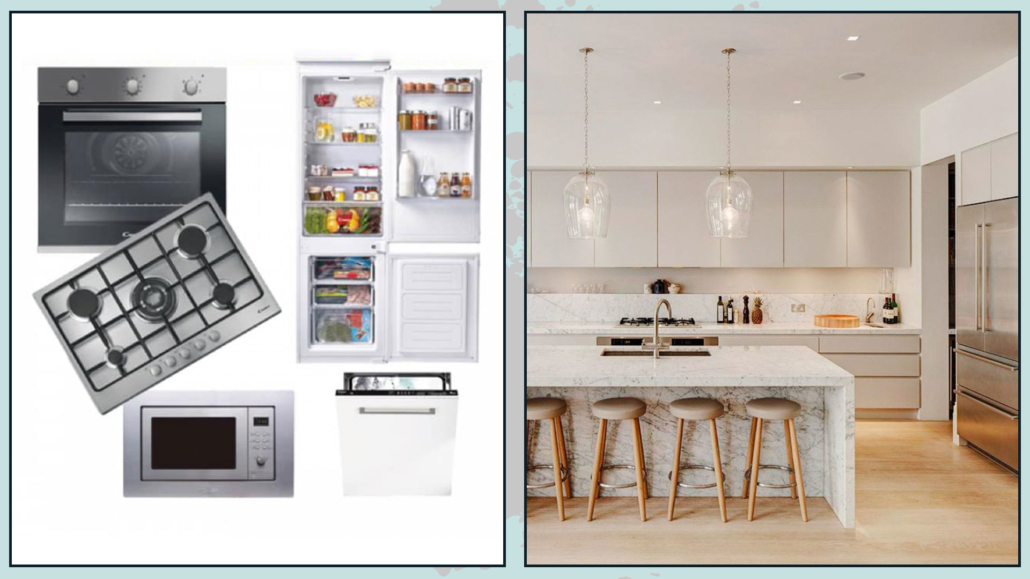
(credit: Marmoraria Felcon)
MORE…
Of course, you’ll need to consider your budget, but one thing I truly recommend is this: buy what you love.
If you’ve fallen in love with a piece and can’t stop thinking about it, go for it!
If you know you’re investing in something that’s both beautiful and long-lasting, you’ll be happy in the end.
Remember: spending less can sometimes mean spending more.
Choosing a cheaper, lower-quality option may force you to replace it sooner, ultimately costing you more.
Start with the essential pieces, and don’t be afraid to buy things little by little.
I hope you found this article on what to look for when buying furniture for your home helpful!
If you did, I’d love to hear from you—drop me a comment and let me know.
If you think someone else might enjoy it, I’d be truly honored if you shared it with them.
And if you still have questions or would like some personalized advice, don’t hesitate to get in touch—I’d be happy to help!