Unless they are apartments in historic buildings, most homes are relatively similar and lack distinctive character.
That’s why it’s up to us to find ways to add style and personality to our home!
In today’s article, I will discuss 7 ways to make your home genuinely represent you by giving it style and identity!
1 – PAY ATTENTION TO CEILINGS
Ceilings are often one of the most overlooked parts of a home, as they are almost always left plain white!
Painting the ceiling a color different from the walls, clearly not white, can create an interesting contrast.
Using a darker color on the ceiling than on the walls will visually lower it, while a lighter color will make it appear higher.
That can be especially helpful if your ceilings are too high or too low.
For a cohesive effect, you might consider painting the ceiling the same color as the walls, creating a cozy, “nest-like” atmosphere!
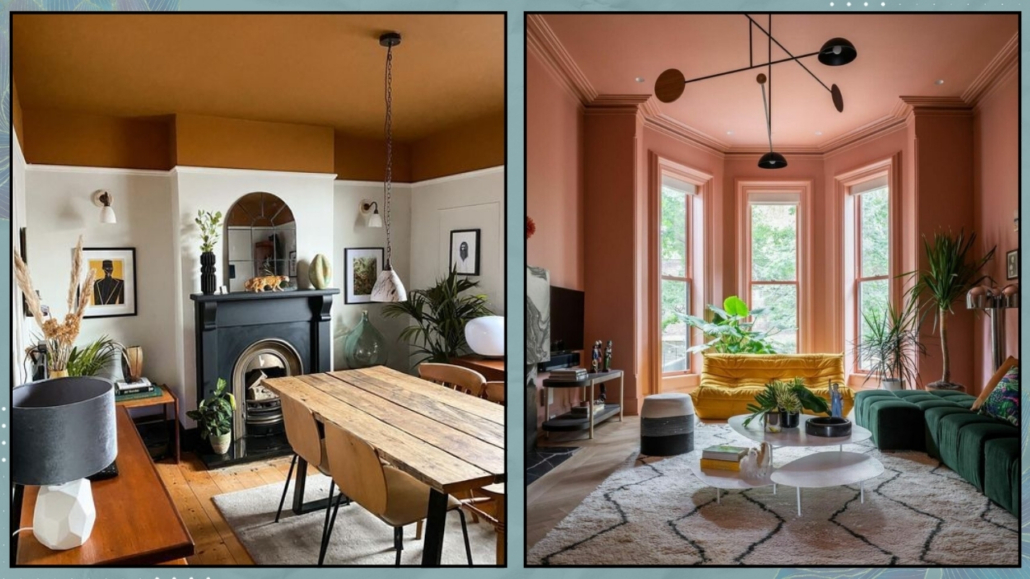
(credits: @jack.laverick.ceramics; mkca.com)
For an unconventional look, you could apply wallpaper to the ceiling!
Another way to enhance ceilings is by adding decorative ceiling medallions to frame your chandeliers.
This decoration can add an extra touch to the room and works with any style; choose the pattern that best suits your space.
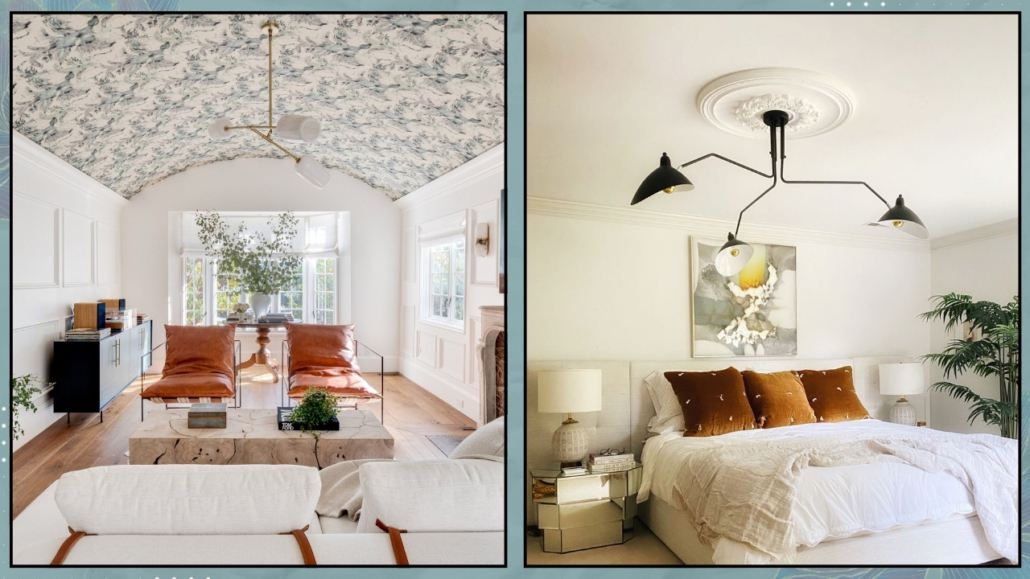
(credits: huitlaguna.com; houseofhipsters.com)
Another idea could be to install ceiling molding around the entire perimeter, possibly with LED strip lighting.
This approach adds an architectural touch, and the lights will create a soft, ambient glow, adding atmosphere to the room.
Depending on your style, you might also consider adding wooden beams to add texture and a natural touch that will warm up the space!
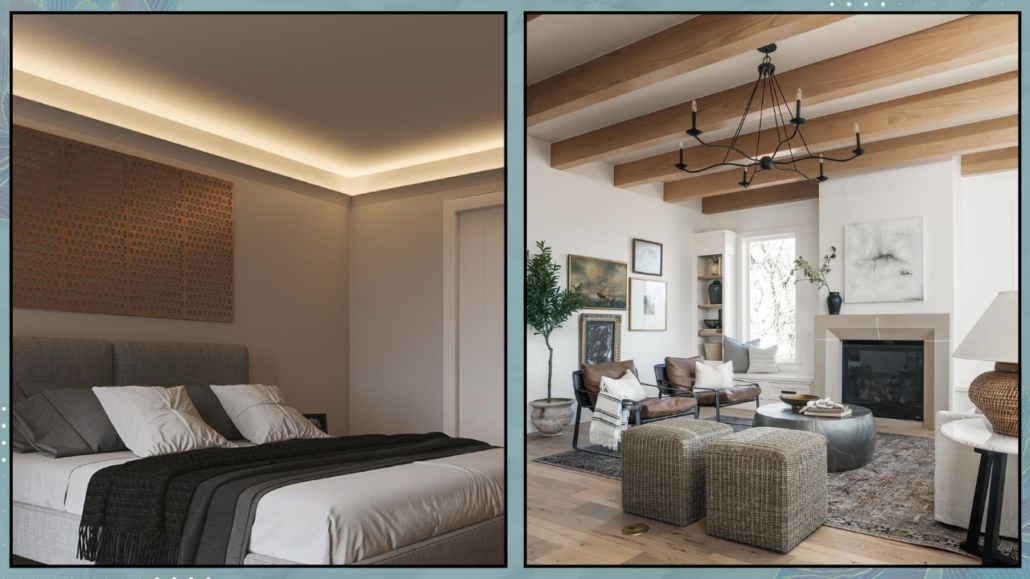
(credits: luceled.com; @kelseyleighdesignco)
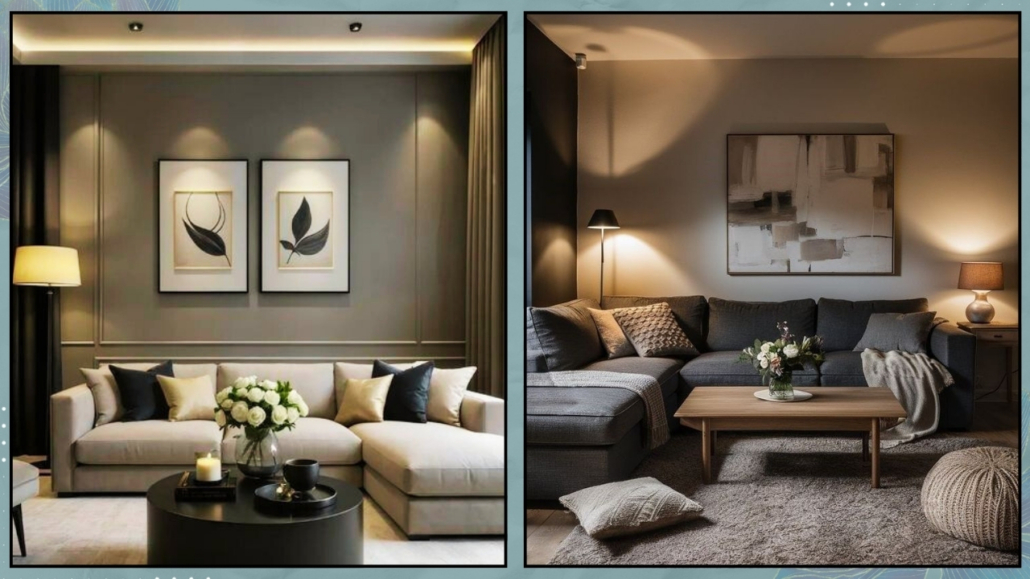
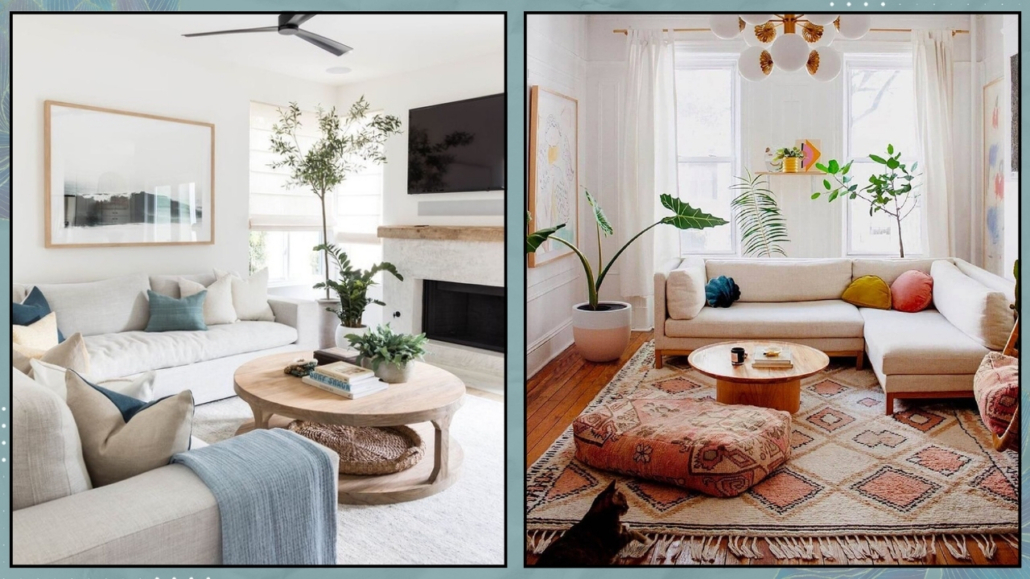
2 – CREATE A FOCAL POINT
Every room in your home should have a focal point—a spot that immediately draws the attention of anyone who enters (if you want to know more I discussed it here).
Some homes or rooms have natural focal points, such as a large window with a beautiful view, a fireplace, or a unique architectural feature.
When these exist, it’s essential to highlight them in the best possible way.
But let’s be honest, these homes are the exception.
In most cases, you’ll need to create the focal point yourself!
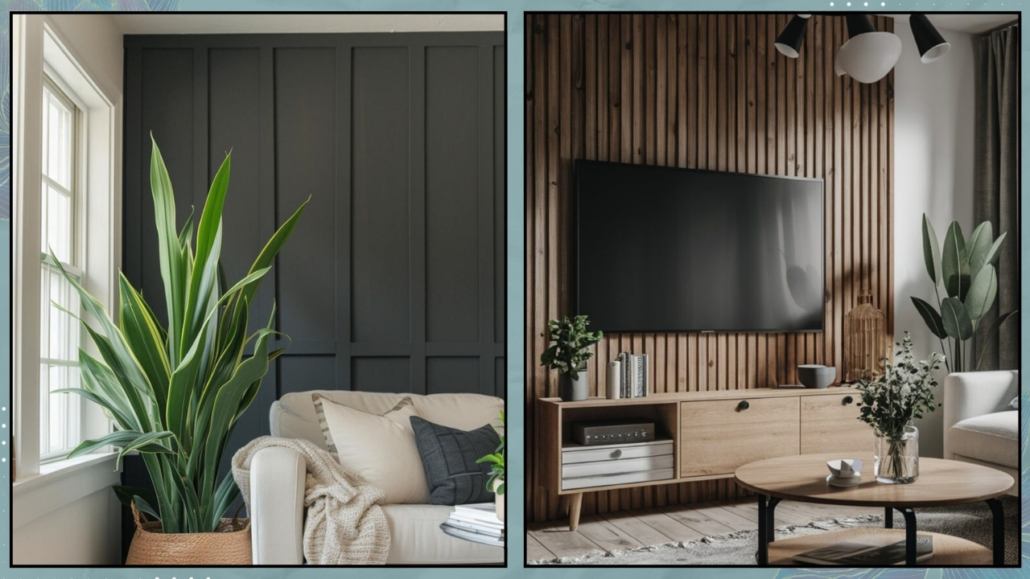
The easiest way to create a focal point is by designing an accent wall, which you can do in several ways:
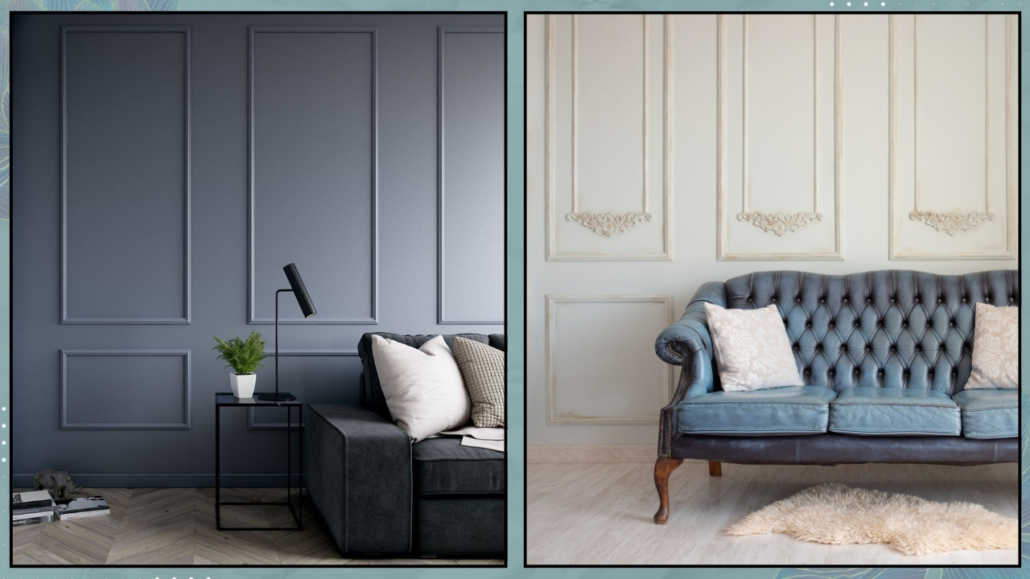
– Using Color
That is perhaps the simplest way to capture attention.
However, I recommend avoiding painting one wall with bold color while leaving the others plain white unless it’s part of a carefully thought-out design.
A better approach is to use the same color but play with different saturations for a more harmonious look.
(credits: kotiliesi.fi; quietminimal.com)
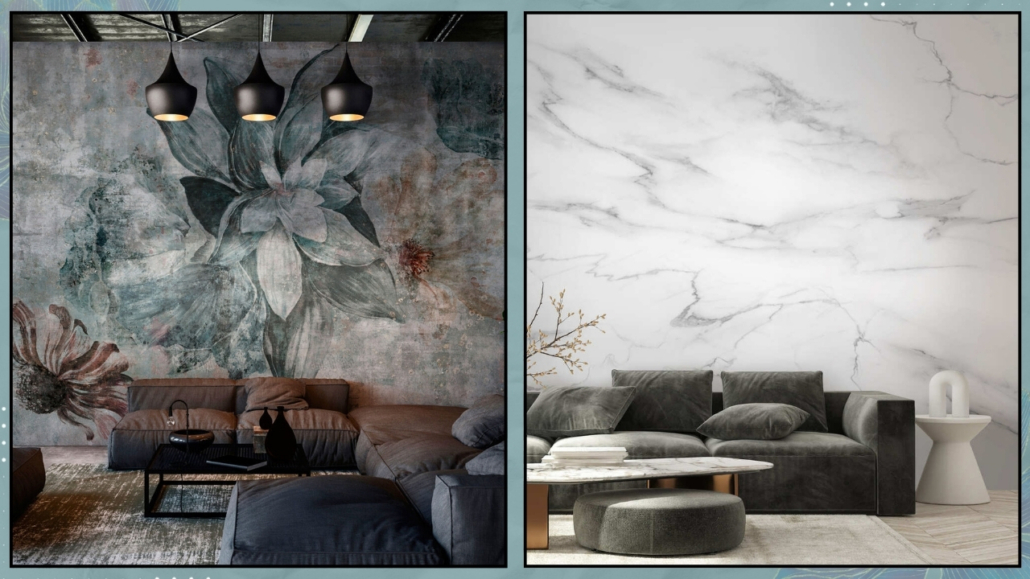
– Using Wallpaper
As I often mentioned, wallpaper has made a big comeback in recent years, and there’s now a wide variety of materials, colors, and patterns to choose from!
Using it to create an accent wall can be a fantastic idea.
It’s best not to leave the other walls white, as we saw with color.
Instead, pick one of the colors from the wallpaper design and use a desaturated version if the color is too intense.

(credits: tecnografica.net; wallsauce.com)
– Use wainscoting or molding
Another way to create visual interest and design an accent wall is by using wainscoting or molding.
Depending on your style and the message you want to convey, you can apply it to the entire wall or just part of it.
You can leave the wood trim in its natural color or paint it the same color as the wall—either way, it will add rhythm and dynamism!
(credits: tokopedia.com; houseresults.com)
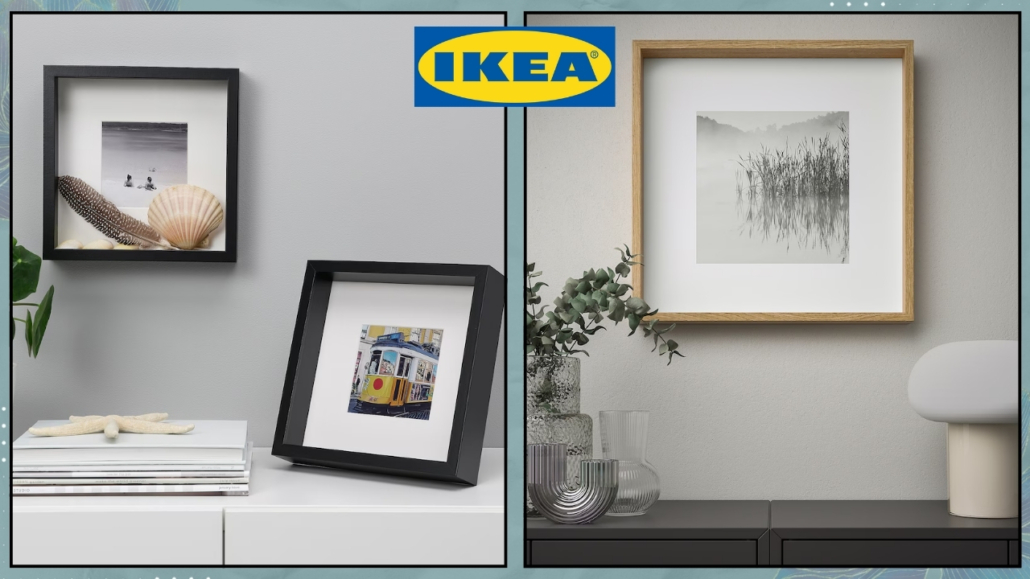
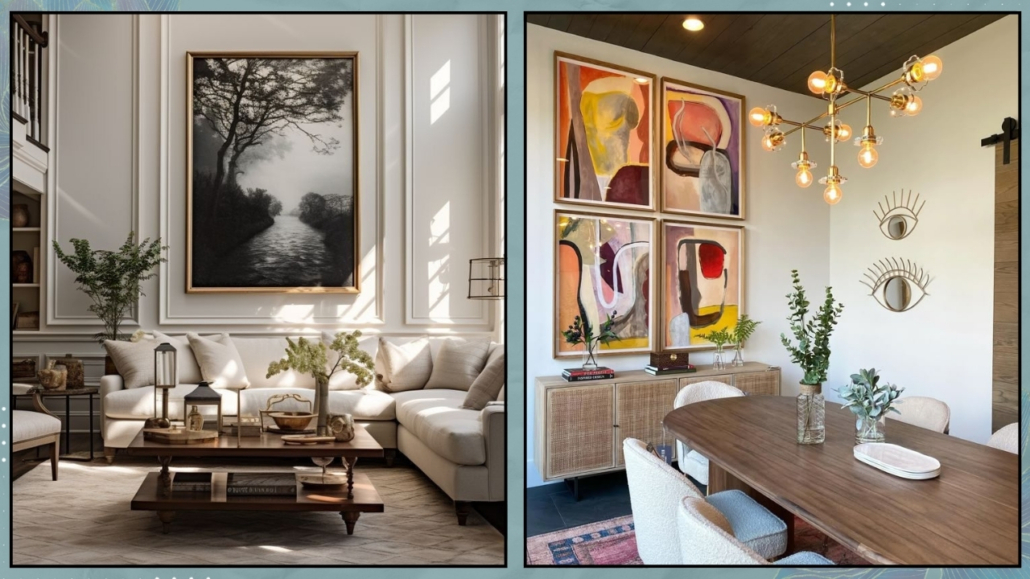
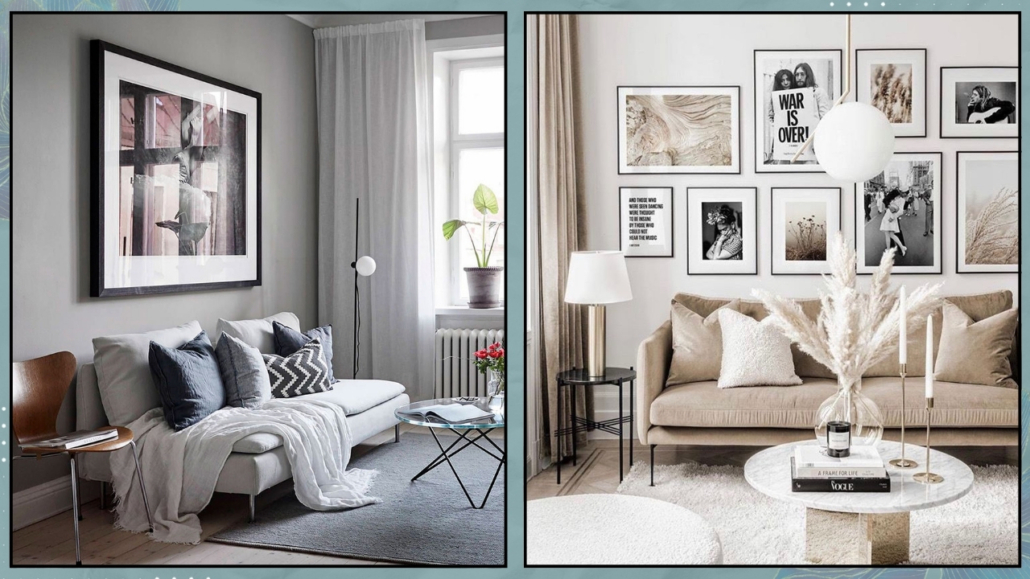
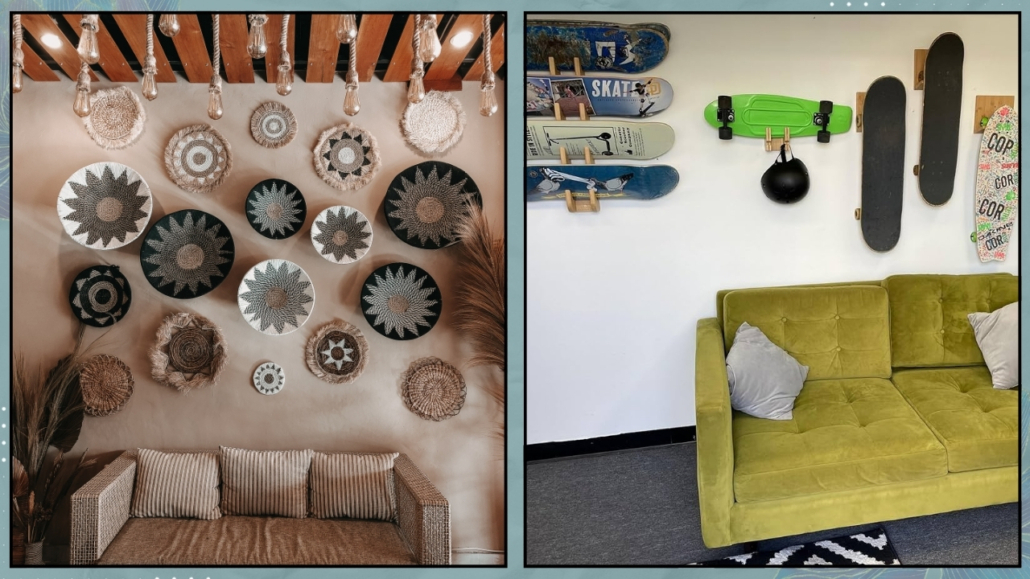
– Artwork
Another quick way to create an accent wall is by using artwork, paintings, or photographs.
You can opt for a single large, impressive piece or create a gallery wall with multiple frames, maybe skillfully mixed with other objects or mirrors, if you like!

(credits: edilnet.it; Boxerjam)
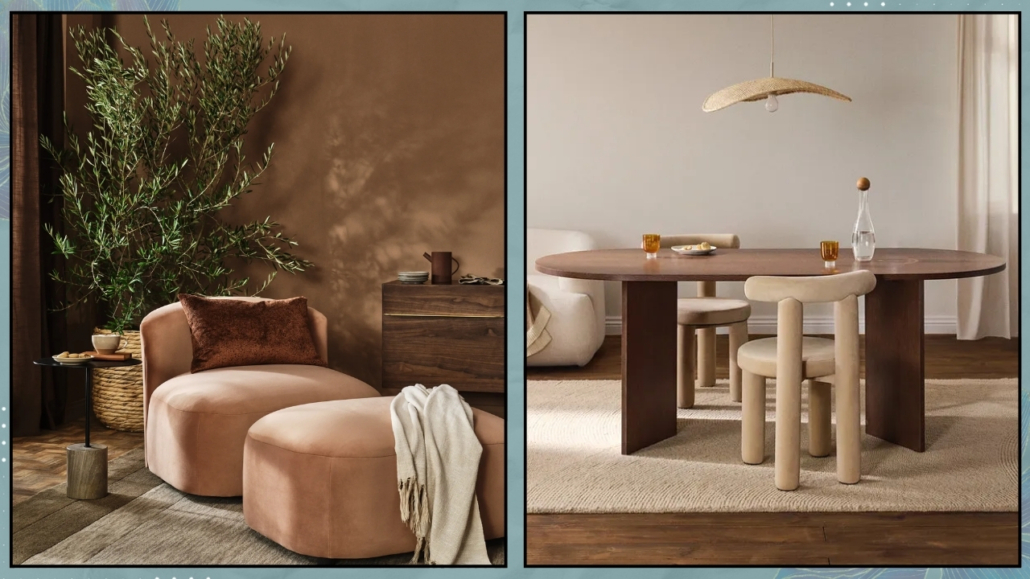
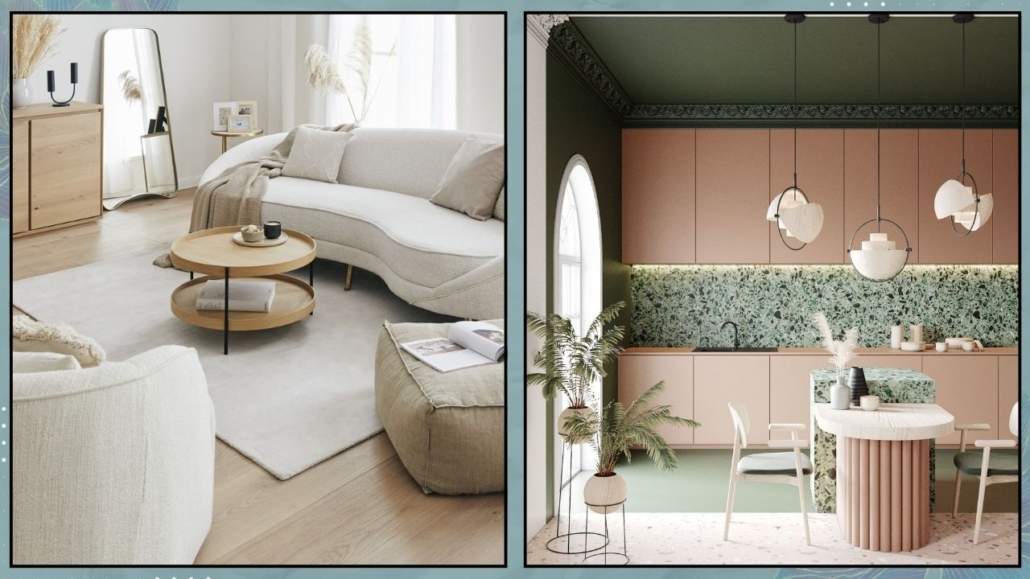
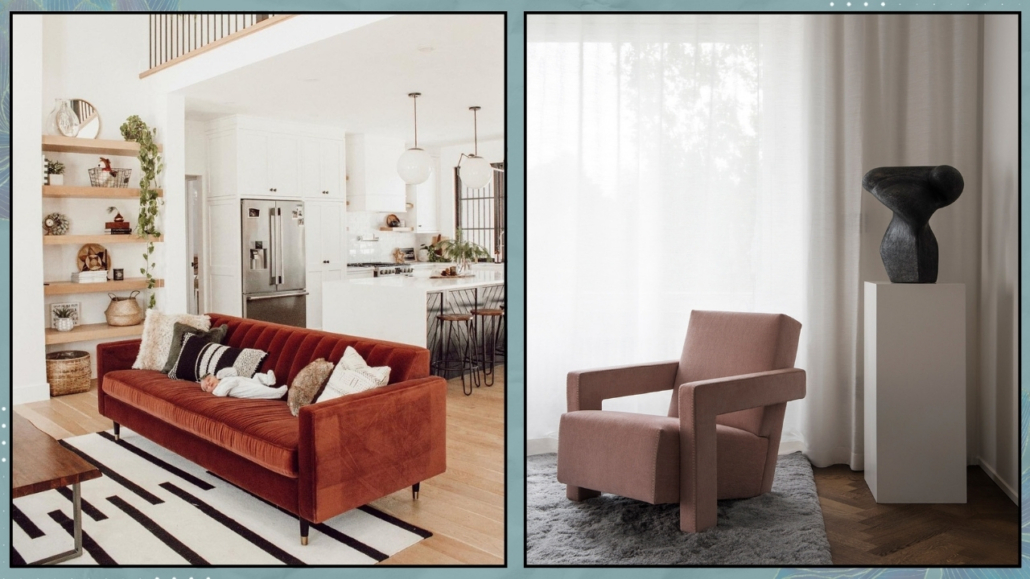
Remember that a focal point doesn’t have to be a wall: it can also be an object, like a unique sofa, an eye-catching armchair, or even a significant piece of art.
Ultimately, it’s all about you, your personality, and what best represents who you are!
(credits: @kassandredekoning; Liljencrantz-Design)
3 – ENHANCE WALLS WITH WAINSCOTING AND MOLDINGS
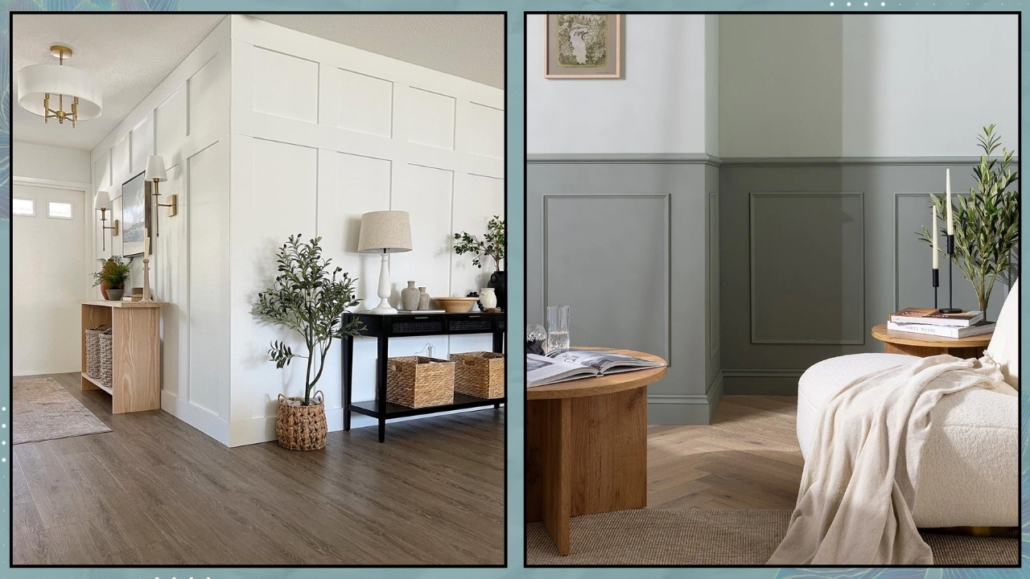
In the previous section, I mentioned wainscoting and moldings to create an accent wall, but you can also use them to enrich all the walls in a room!
Depending on your style, you can design wainscoting or moldings that cover all four walls entirely or just halfway up, perhaps painting the lower section differently.
(credits: mrsashleyfrench.com; naturewall.com)
An option might be to install perimeter molding, possibly with LED strips, to create a dynamic interplay between the walls and ceiling.
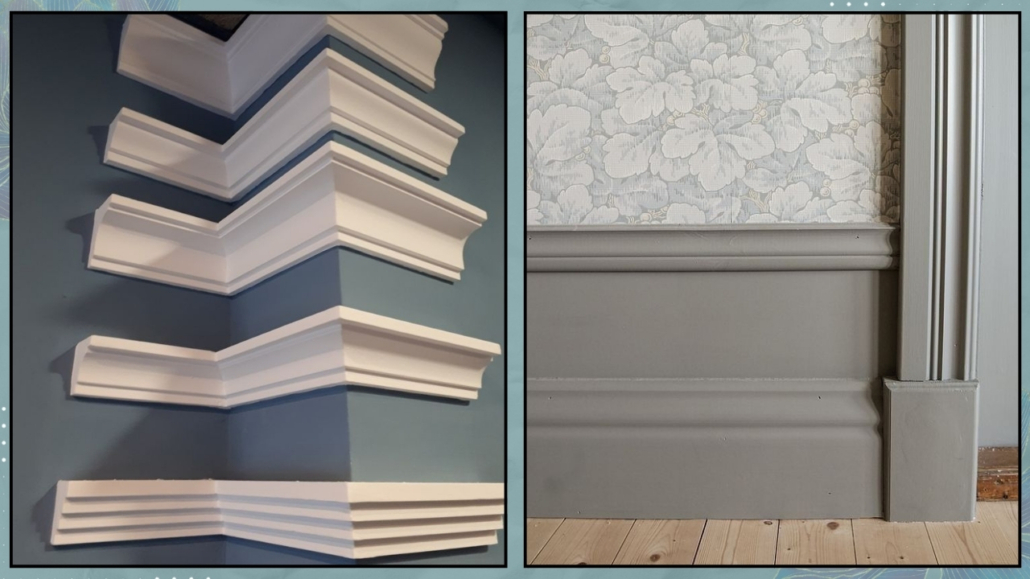
If you have wooden baseboards, another idea is to make them more interesting by adding a small molding.
That can rest directly on the baseboard or leave a small gap between the baseboard and molding, painting everything the same color to give the appearance of a seamless design.
(credits: indiamart.com; bslstudios.com)
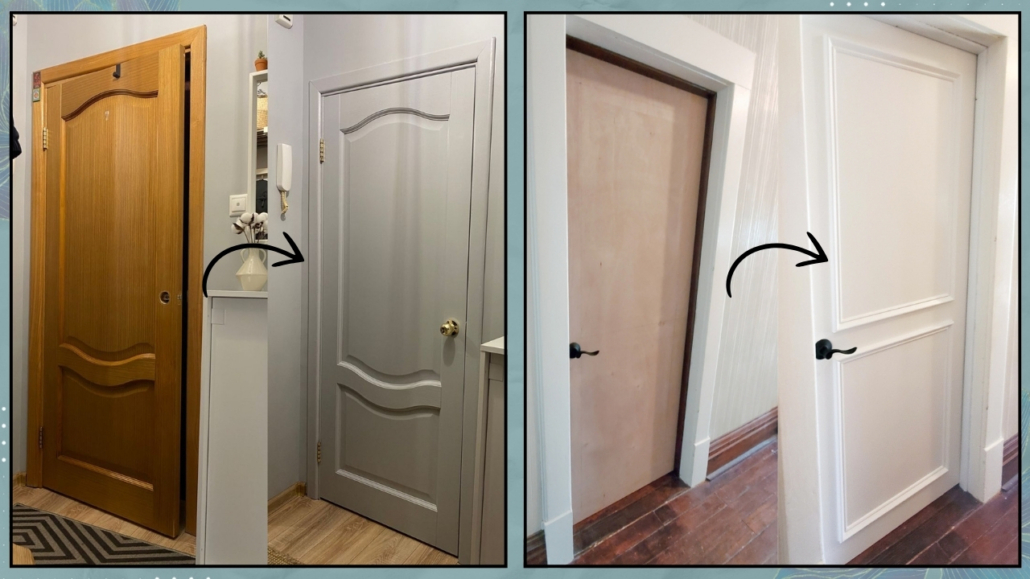
4 – PAY ATTENTION TO DOORS
Doors are another great way to add personality and style to your home.
I recommend avoiding completely smooth, all-white doors unless they are flush doors designed to remain almost invisible: they can feel quite cold!
You can find many textured doors with patterns and colorful designs that can change your home’s look.
If replacing them isn’t an option, consider repainting them and, why not, adding some dimensionality with moldings!
This simple upgrade can completely transform the feel of your space.
Also, look at door handles: their shape, color, and material should match your home’s style.
If not, consider replacing them for an extra touch of style.
(credits: artmarket_kz; downblisslane.com)
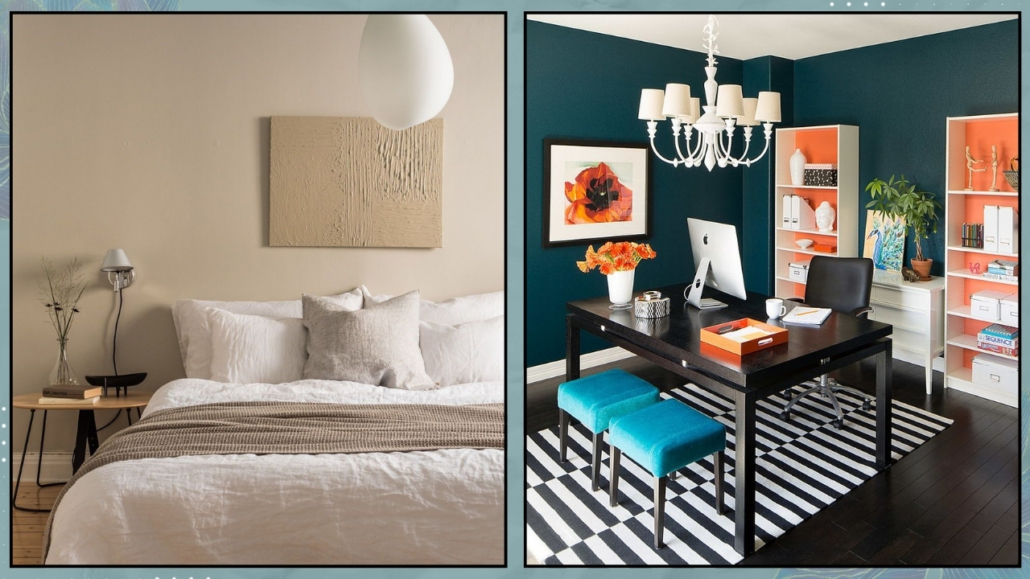
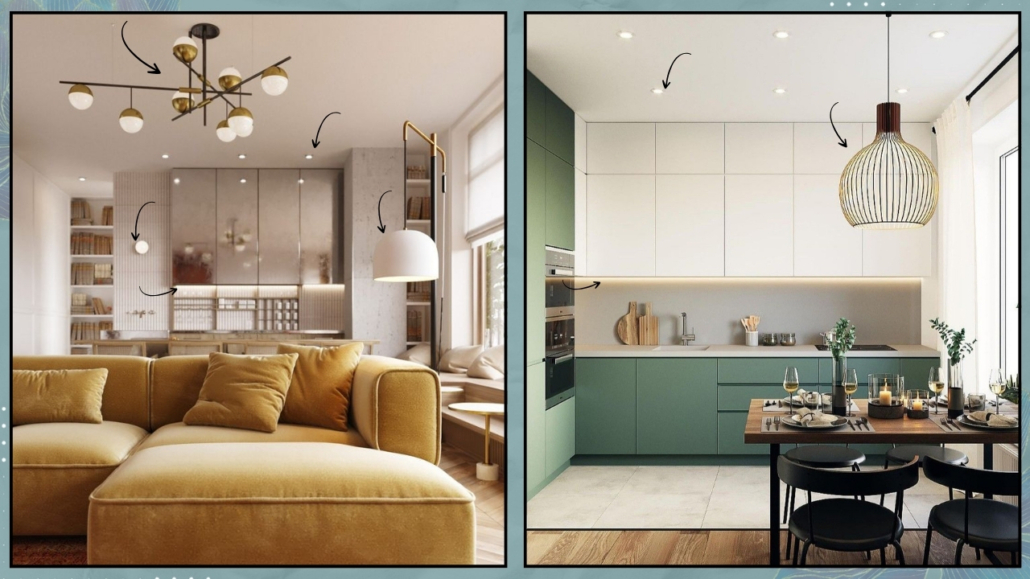
5 – LIGHTING
You might be almost tired of hearing me say lighting is everything in interior design!
But it’s true, so I’d rather repeat myself than leave things unsaid!
When I talk about lighting, I’m referring to three key factors:
– Good lighting for every room
As you probably know by now, a single central light isn’t enough—it might be okay for general lighting at best.
You need additional light sources to add depth and provide good visual comfort.
These light sources should also be functional for the activities taking place in each room.
For instance, under-cabinet lighting in the kitchen, a pendant light above the dining table, or a good reading lamp near a chair or sofa.
(credits: Studio design HDm2; @nestmas-StudioRemi)
– Color Temperature
The color temperature of lightbulbs will make a tremendous difference in your home, either making it cozy or not!
Avoid cold lights (above 5500 Kelvin), as they create sterile, unwelcoming environments.
You can use neutral lights (between 4000 and 5000 Kelvin) in moderation, especially for ambient lighting.
For a cozy home that feels warm, it is best to use warm lights, around 2700 Kelvin.

(credits: luxemozione.com; nomadbubbles.com)
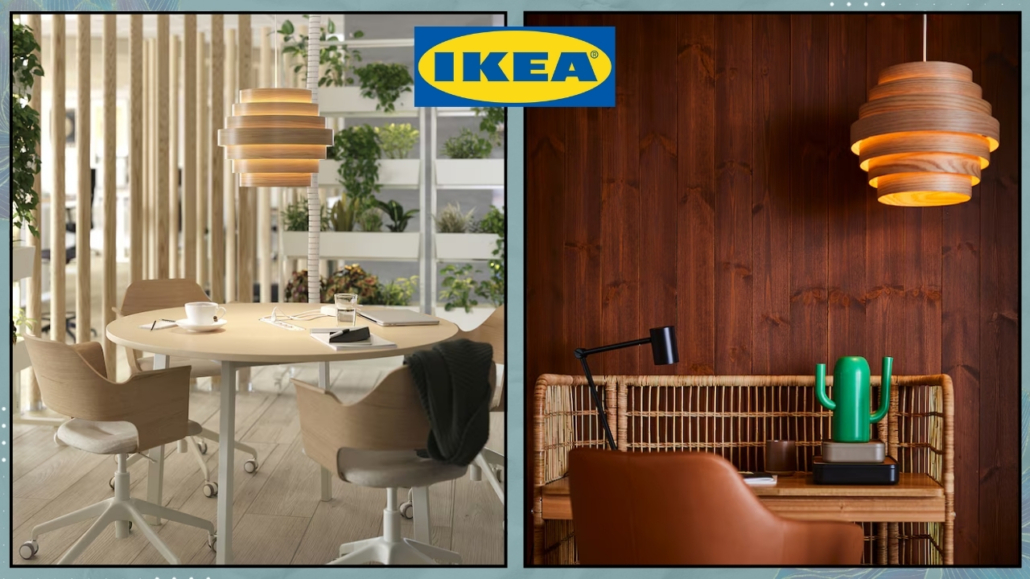
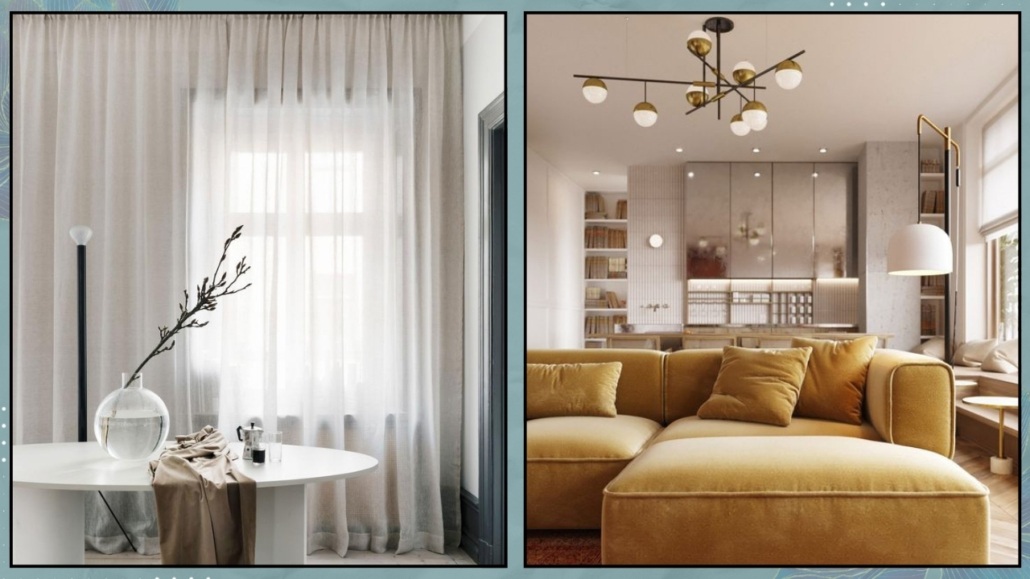
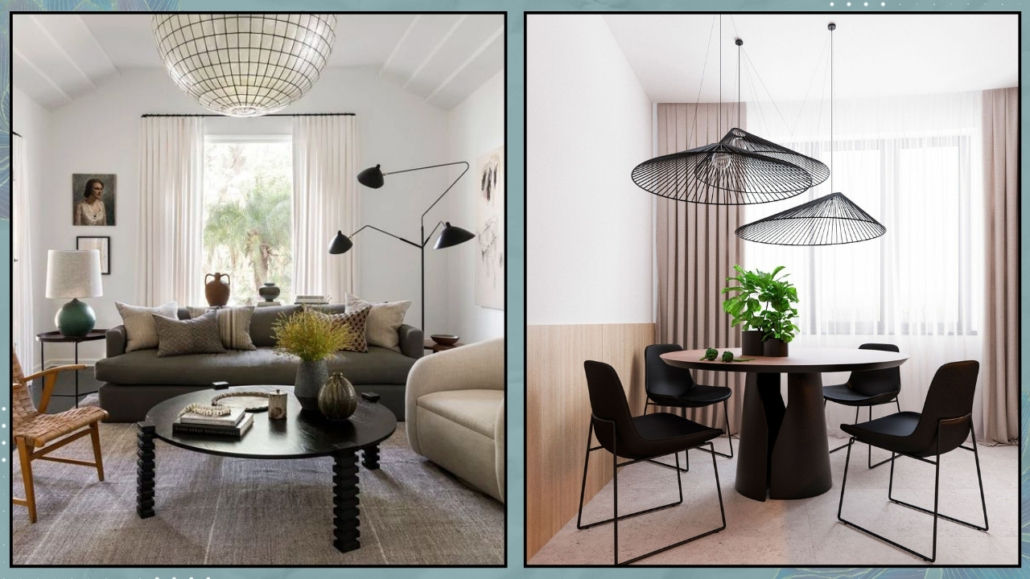
– Types of Lamps and Chandeliers
Choosing the right light fixtures that illuminate accurately and enhance the room with that extra touch is paramount.
They should complement the rest of the decor in style, color, and/or material and be proportionate to the space!
It is not uncommon to see chandeliers that are too small.
If you must break the rule of proportion, it is better to go bigger and make the chandelier the room’s focal point!
(credits: katiehodgesdesign.com; behance.net)
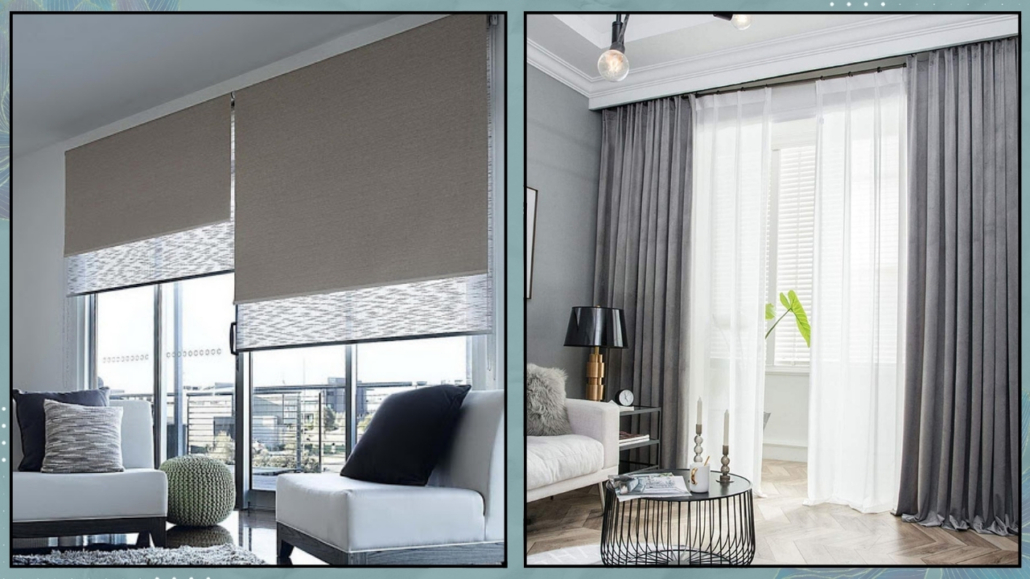
6 – CURTAINS
Curtains dress a home and add warmth, so one should never overlook them to give style and personality to a space.
Exceptions are rare, like large windows with a stunning view!
There are many types of curtains, and when chosen carefully in terms of materials and colors, they can make the difference between a home that feels unfinished and a cozy and complete one.
Venetian blinds, roller blinds, Roman shades, sliding curtains, or draped ones; sheer or full coverage; single or double—it’s clear that the customization options are endless.
Curtains are also a great way to bring in color and texture, adding a lively touch that’s always welcome.
Favor natural materials like cotton, linen, and velvet; if you choose Venetian blinds, opt for wooden ones instead of plastic.
For roller blinds, consider bamboo if you don’t want fabric!
Pick something that matches the overall style and enhances it!
(credits: Alessandro Mainardi; hackrea.com)
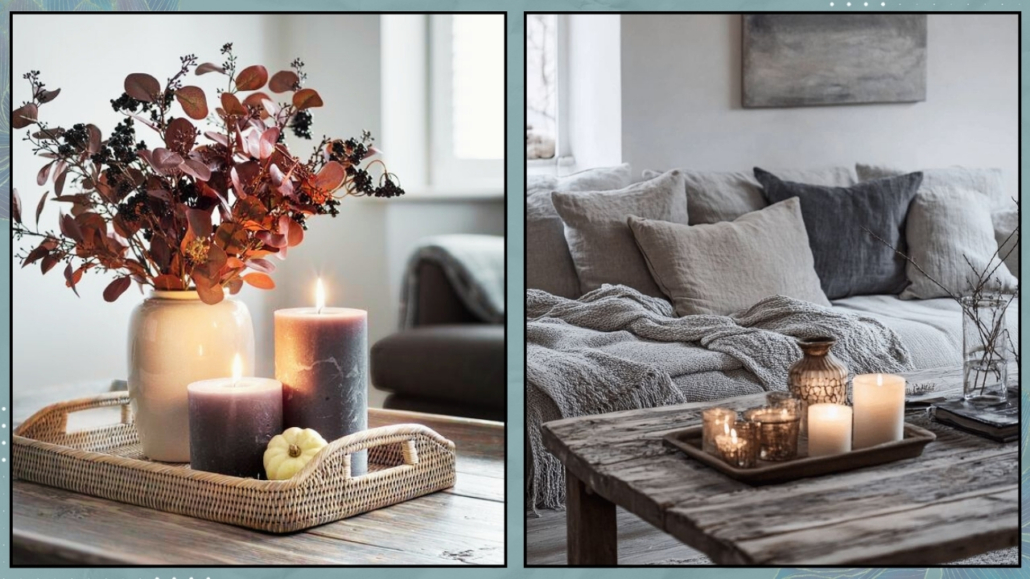
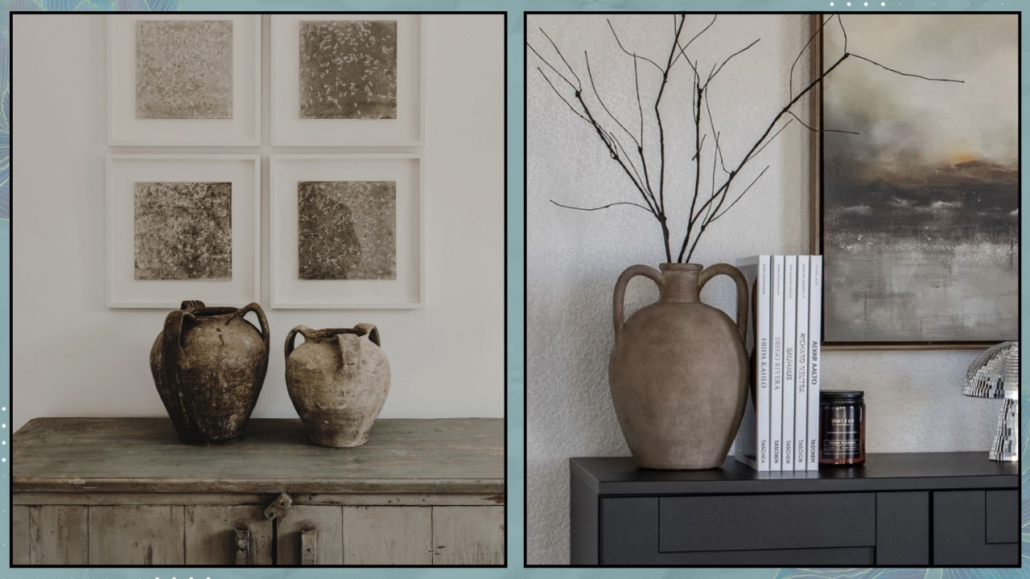
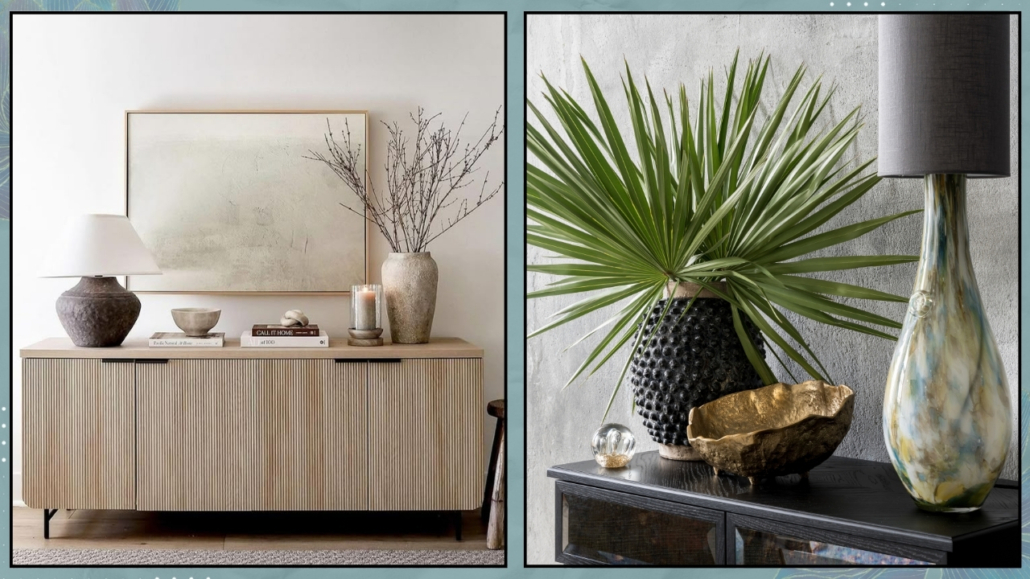
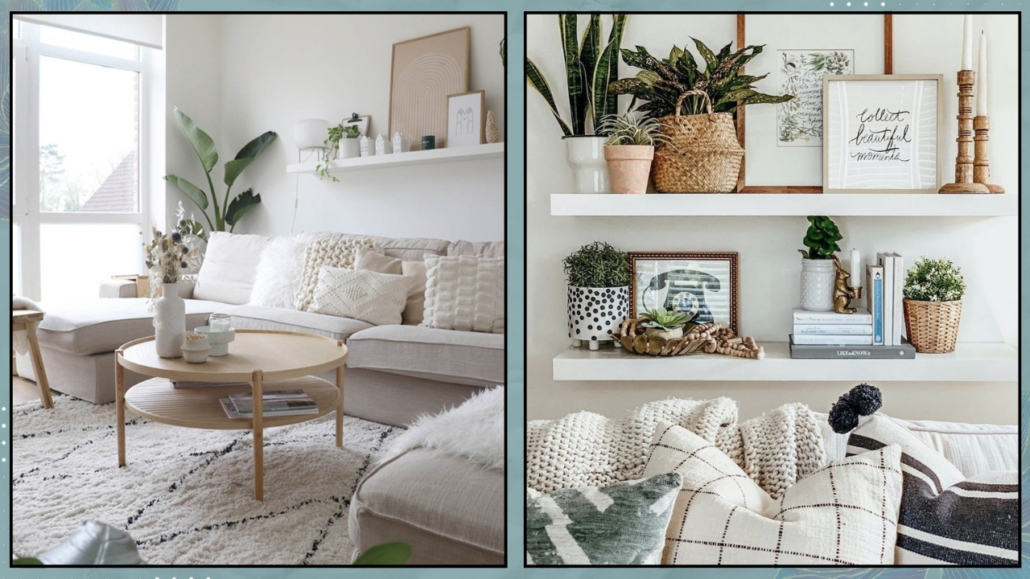
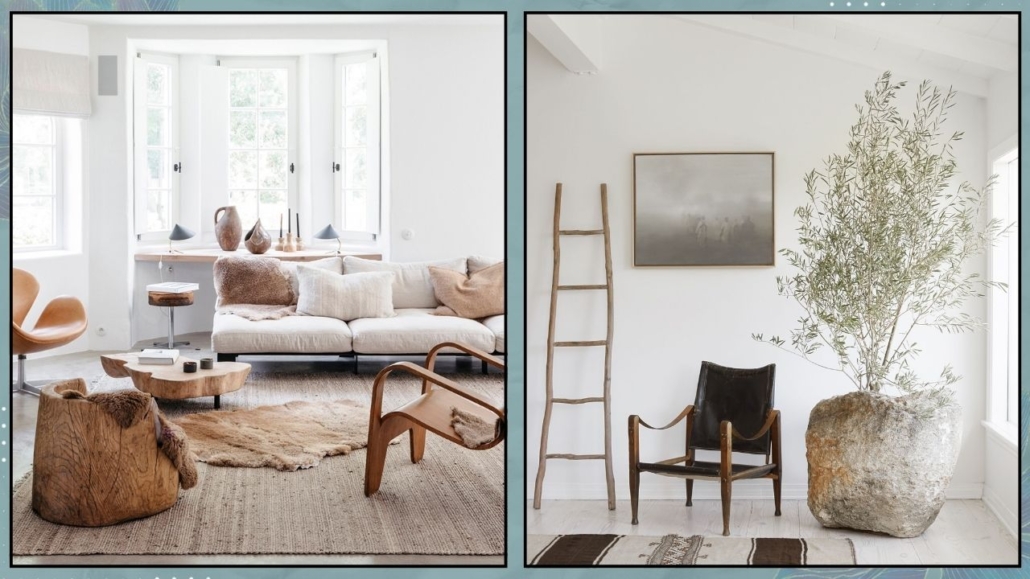
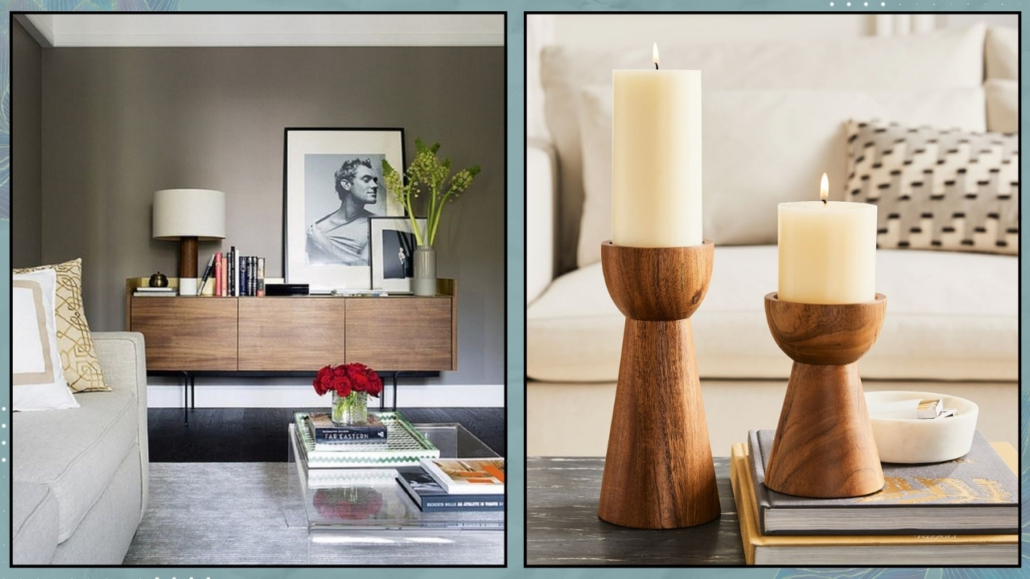
7 – WOOD AND NATURAL ELEMENTS
Wood is a natural material that warms up any space and should never be missing in a home.
Wooden furniture can add a stylish touch to your home, and it doesn’t have to be traditional or antique; there are also ultra-modern options available if that’s your preference!
The natural colors of wood are also calming and relaxing.
If you’re not fond of wooden furniture, you can still incorporate wood using small accessories like trays or photo frames!
(credits: sinnenrausch.at; westelm.com)
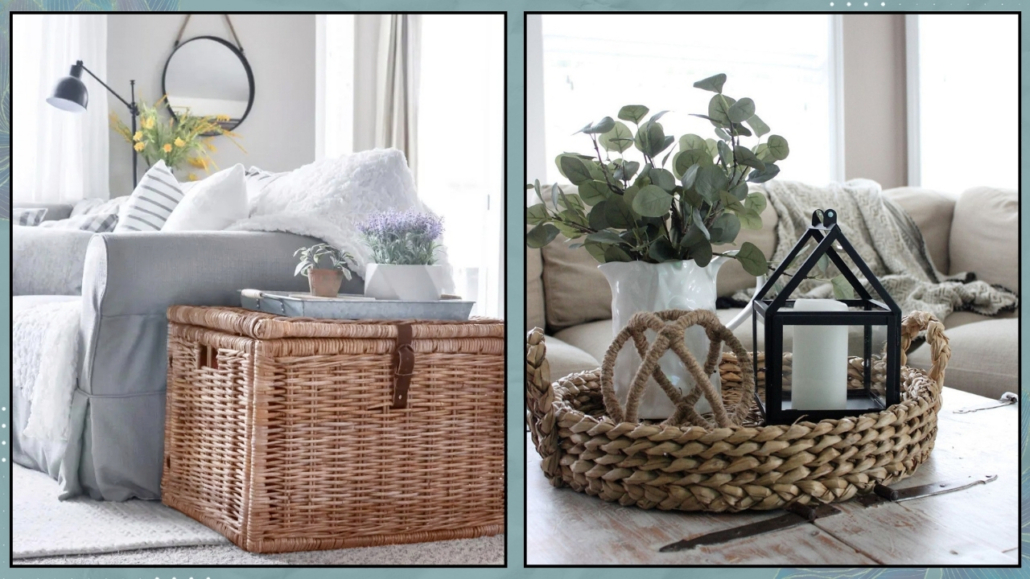
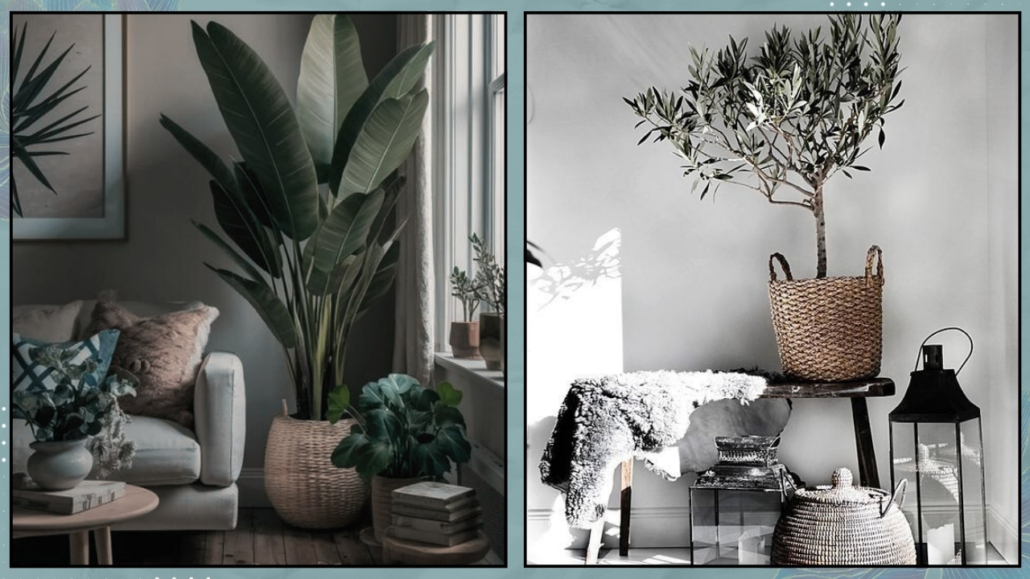
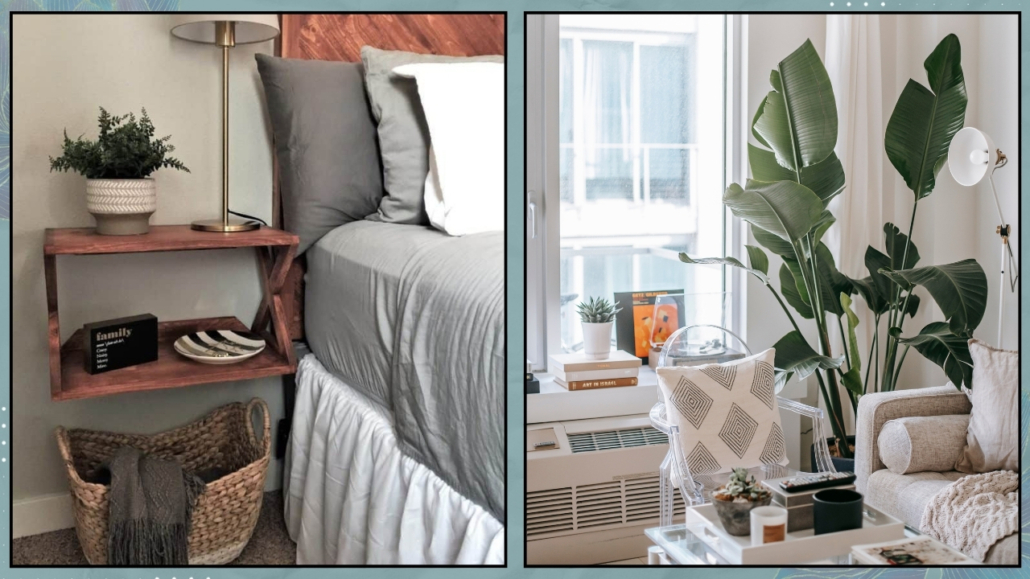
You can also use wicker, perhaps with some beautiful baskets that double as storage!
These will also add style to your home.
Finally, no natural elements collection would be complete without plants!
They help give character to any room.
As always, real is better, especially considering the air-purifying qualities of some plants, but a well-made fake plant is better than none!
(credits: joyfulderivatives.com; canva)
I hope you enjoyed this article about adding style and personality to your home and found it helpful.
If so, don’t hesitate to share it with someone you think might be interested; I would be honored, and it will help me get known.
If you feel that your home, or any part of it, doesn’t reflect you enough, don’t wait any longer: fall in love with your place again and book your consultancy!
IMAGES NOTE:
Finding credits isn’t always easy, so if there’s any mistake and a photo is yours, and you’re not named, don’t hesitate to point it out to me, and I’ll correct it right away!